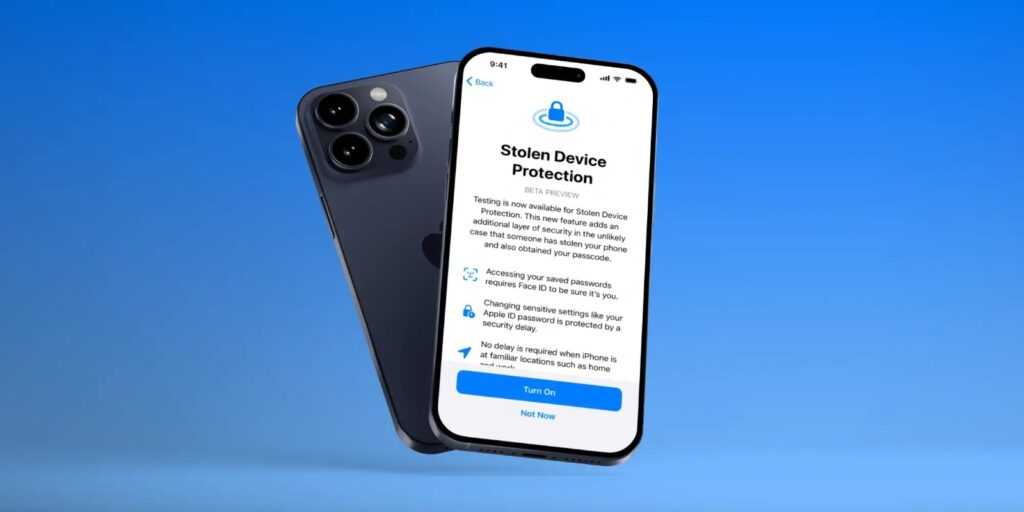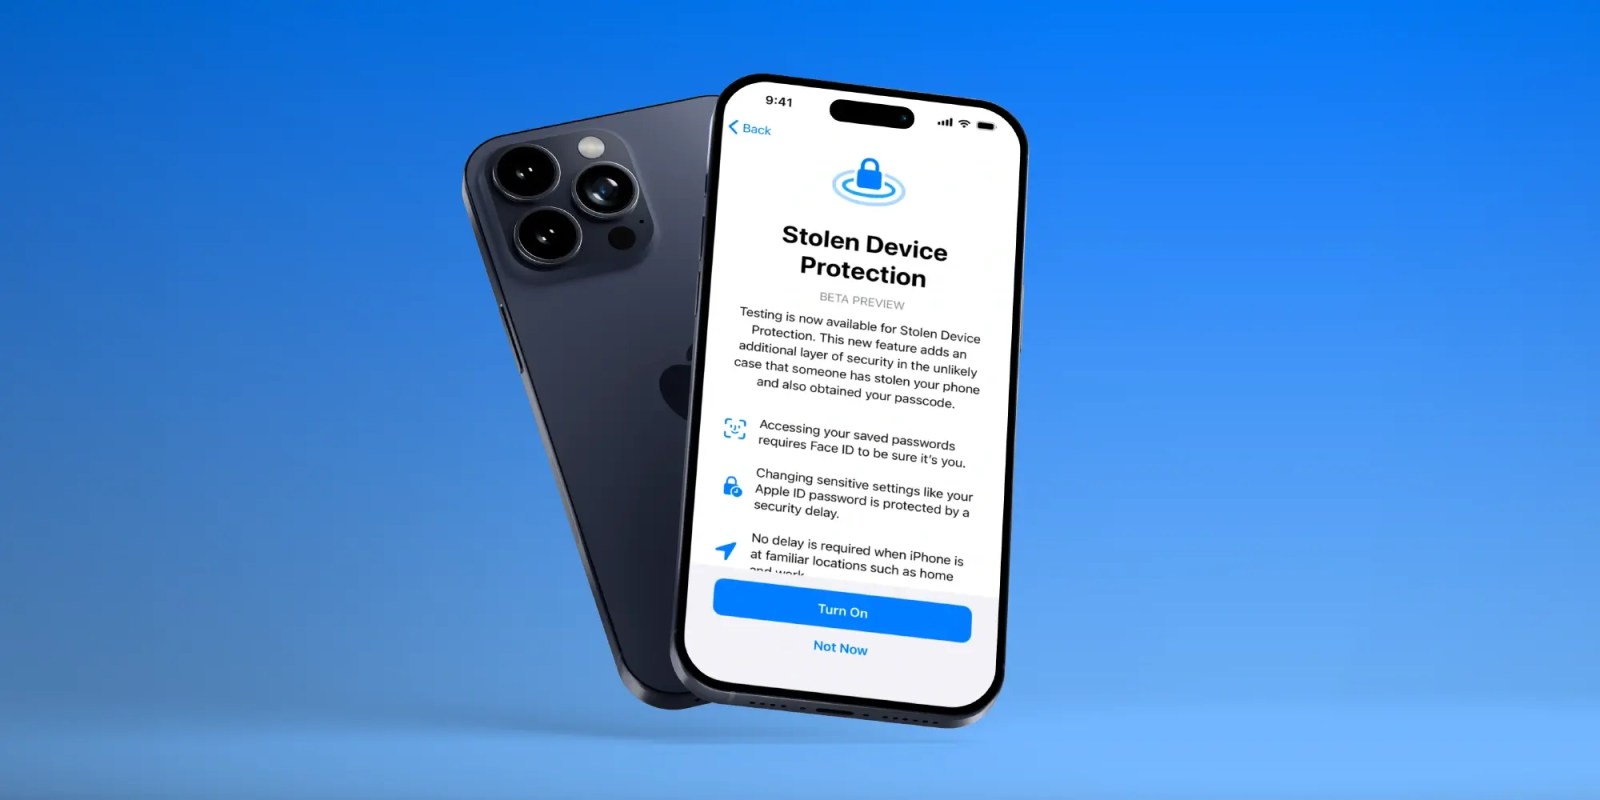
Apple introduced Stolen Device Protection in iOS 17.3 to safeguard your iPhone against data theft if someone gains access to your passcode. Essentially, this feature adds an extra layer of security, making it challenging for thieves to alter your Apple ID settings when your iPhone is outside familiar locations such as home or work.
Since its launch, Apple has enhanced the feature, allowing users to customize the frequency of security delays. With iOS 17.4, you can now opt for a security delay when away from familiar locations or set it to activate consistently, boosting security across all settings.
How Does Stolen Device Protection Mode Function?
Prior to the introduction of Stolen Device Protection mode, anyone with your iPhone’s passcode could execute significant changes. These included altering your Apple ID password, generating a recovery key, deactivating lost mode, transferring settings to another device, disabling Find My, retrieving your saved Keychain passwords, and more.
Although acquiring your iPhone’s passcode is challenging, there may arise situations where a thief or attacker gains your trust and learns your six or four-digit passcode. Subsequently, they can steal your iPhone and easily lock you out by disabling Find My and accessing your Apple ID.
Stolen Device Protection mode ensures enhanced security. When enabled, your iPhone mandates Apple’s Face ID recognition alongside the passcode for sensitive actions, such as accessing stored passwords or wiping the phone from unfamiliar locations.
Configure the security delay as “Always” on iOS 17.4 or later to prevent unauthorized access to iPhone settings regardless of location. This renders sensitive changes or settings inaccessible with only a passcode.
If the attacker attempts to alter your Apple ID password or disable Face ID, your iPhone will impose a mandatory one-hour delay. The attacker must then pass a Face ID check after one hour to change the credentials.
Note: Stolen Device Protection and the one-hour delay may not activate at trusted locations like home or work if the “Require Security Delay” setting is set to “Away from Familiar Locations”. You can set this to “Always” to enforce the security delay at all locations, including trusted ones.
Below is a table outlining actions requiring both passcode and Face ID recognition when Stolen Device Protection is ON, and those needing biometrics plus a one-hour security delay:
| No Security Delay | Security Delay |
|---|---|
| Access iCloud Keychain passwords | Change Apple ID password |
| Apply for an Apple Card | Enable recovery key |
| Erase all content and settings | Change trusted phone number or contact |
| Turn off Lost Mode | Add Face ID or Touch ID |
| Send money with Apple Cash | Remove Face ID or Touch ID |
| Use iPhone to set up a new device | Disable Find My |
| Use saved payment methods in Safari | Disable or modify Stolen Device Protection settings |
Activating Stolen Device Protection on iPhone
Your iPhone prompts you to activate Stolen Device Protection on the home screen after updating to iOS 17.3. However, you can also enable this feature through the iPhone settings. Here’s how:
- Launch the Settings app on your iPhone and navigate to Face ID and Passcode.
- Find the Stolen Device Protection section and tap Turn On Protection to activate it.

Pritam Chopra is a seasoned IT professional and a passionate blogger hailing from the dynamic realm of technology. With an insatiable curiosity for all things tech-related, Pritam has dedicated himself to exploring and unraveling the intricacies of the digital world.

