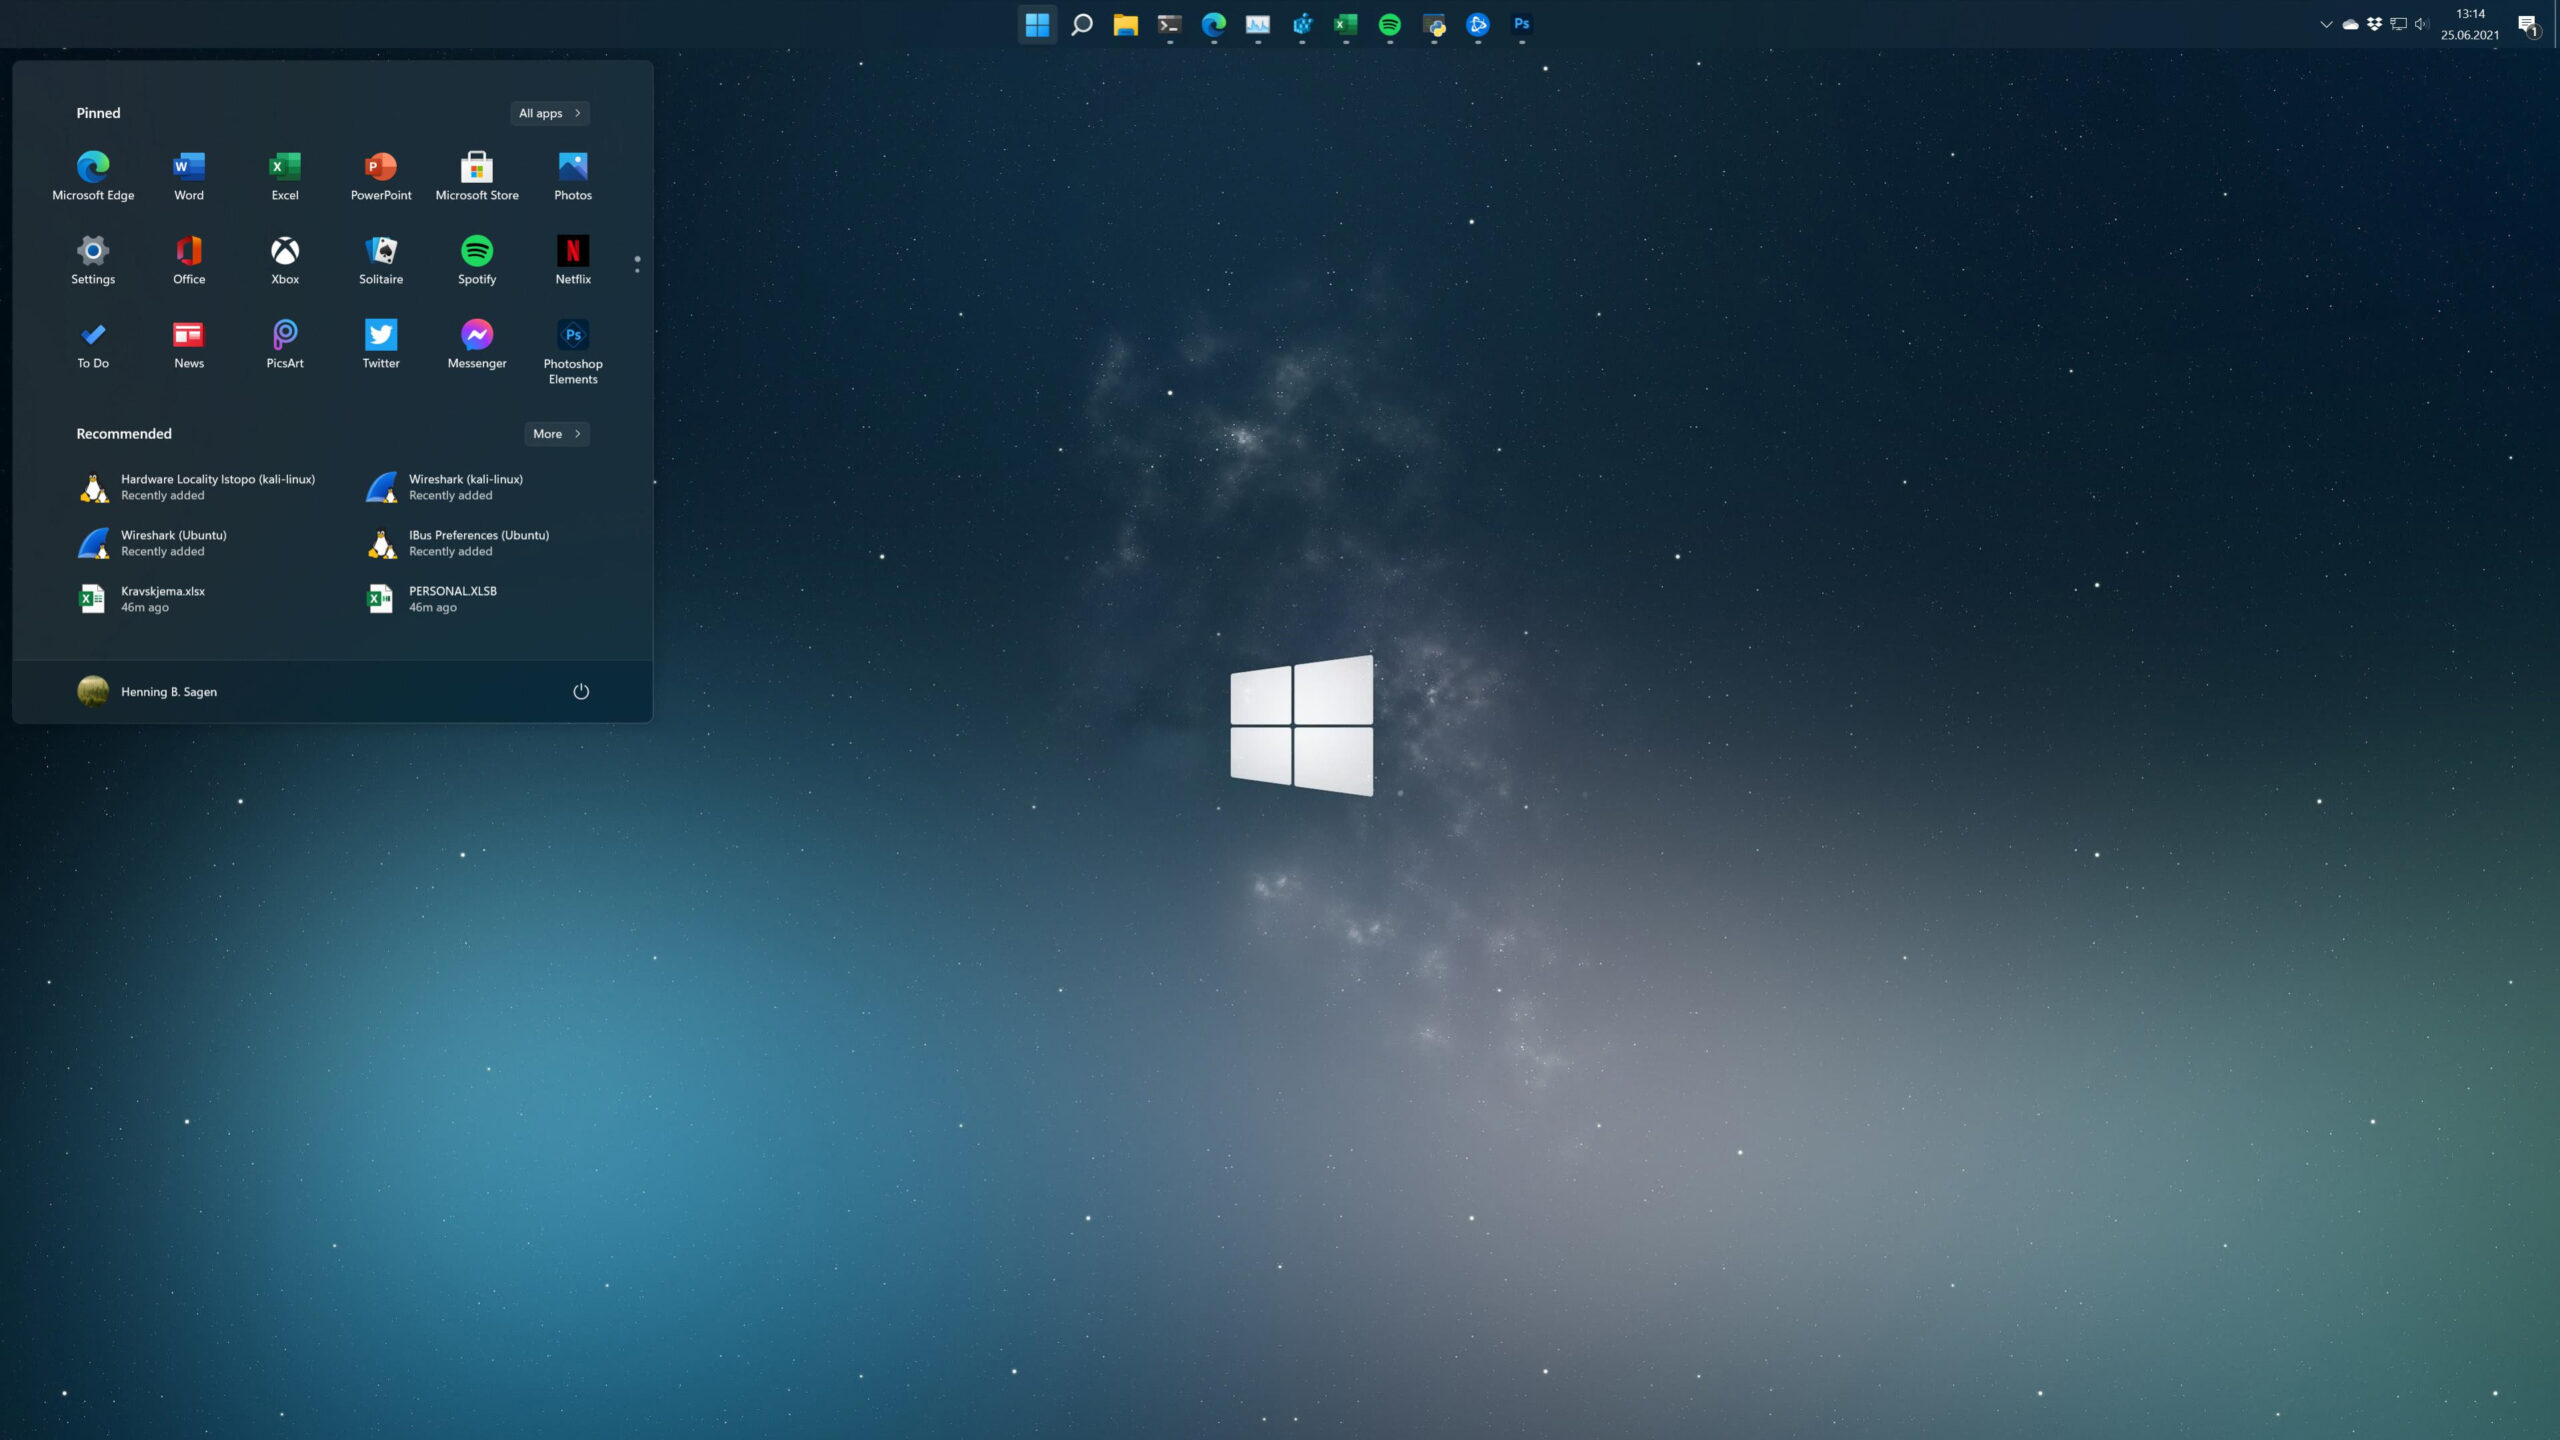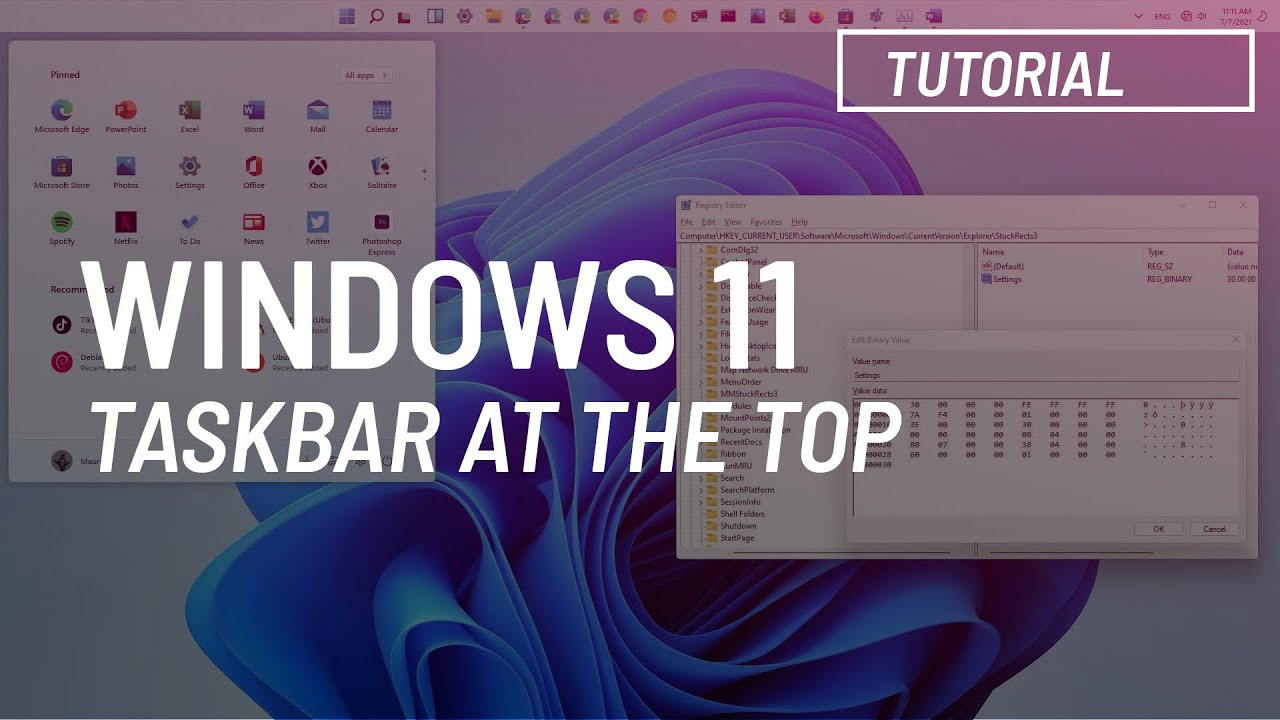
For many who’ve transitioned from Windows 10 to the sleek interface of Windows 11, one notable area of frustration lies within the Taskbar. Despite its overall appeal, users often find its functionality limited. Previously, the inability to ungroup icons or freely rearrange items on the Taskbar without resorting to third-party apps was a common complaint. However, even with the 2022 update, the default settings still don’t allow for relocating the Taskbar to the top.
Fortunately, we’ve compiled a comprehensive tutorial on how to overcome this limitation and move the Taskbar to either the top or side of your screen on Windows 11. By implementing a few straightforward adjustments, you can effortlessly customize the Taskbar’s position to better suit your preferences. Let’s delve into the step-by-step guide.
Follow these steps to move the Taskbar to the top or left/right side on Windows 11. We provide three methods to change the Taskbar position.
Moving the Taskbar to the Top Using ExplorerPatcher
To relocate the Taskbar to the top in Windows 11 version 22H2, utilize the third-party application, ExplorerPatcher. I’ve tested this on Windows 11 2022 update (Build 25151.1010), encountering no issues. Note that the Registry method is ineffective on the latest Windows 11 build, but remains functional on the original stable build (detailed below).
After installing the Windows 11 22H2 update, you now have access to a third-party solution. ExplorerPatcher offers extensive customization options for the Windows 11 Taskbar. This open-source program is available for free, and here’s how it works:
1. Download the latest version of ExplorerPatcher from this link.
2. Run the program to change the Taskbar appearance to resemble Windows 10. Allow a few seconds for all modifications to take effect. To further customize, right-click on the Taskbar and select “Properties“.
3. In “Taskbar” settings, set the “Primary taskbar location on screen” to “Top”. Then, click “Restart File Explorer” at the bottom-left corner.
4. The Taskbar will move to the top within seconds.
5. Move to the “Start menu” section under ExplorerPatcher and set the “Start menu style” to “Windows 10“. If you opt for “Windows 11”, the Start menu won’t open. Also, change “Position on screen” to “At screen edge” to open a Windows 10-style Start menu in the left corner.
Note: Use the Windows 10 style Taskbar to move it to the top. Switching to Windows 11 disables the Start Menu. Additionally, some users find the Taskbar returning to its default bottom location upon restarting the Explorer.
6. This is the Taskbar after moving it to the top position with the Windows 10 style menu, left-aligned.
7. To uninstall ExplorerPatcher and restore the default Windows 11 Taskbar, go to “About” and click “Restore default settings”. Follow on-screen instructions and click “Yes” on any prompts.
8. Then, open the Control Panel and uninstall the program. The screen will briefly go blank, and then everything will reappear.
Move Taskbar Icons to the Left on Windows 11
Many Windows 11 users prefer the left-aligned Taskbar icons over the center-aligned ones. To switch back to the Windows 10-like Taskbar, Windows 11 offers a built-in option. No need to tinker with the Registry. Here are the steps:

1. Right-click the Taskbar and select “Taskbar settings“.
2. Then, click “Taskbar behaviors” to expand the menu.
3. In the “Taskbar alignment” drop-down, choose “Left”.
4. Done. Now, Taskbar icons will shift left on your Windows 11 PC.
Move Windows 11 Taskbar to Top via Registry
To relocate the Taskbar to the top on Windows 11, adjust the Registry file. Note: This method is unsupported on the latest Windows 11 22H2 update. It’s only viable on older builds. Here’s how:
1. Press the Windows key, type “registry” in the search bar, and open “Registry Editor” from the results.
2. Copy the path below and paste it into the Registry Editor’s address bar, then press Enter to proceed directly to the desired entry.
Computer\HKEY_CURRENT_USER\Software\Microsoft\Windows\CurrentVersion\Explorer\StuckRects3
3. Double-click on the “Settings” key in the right pane and locate the 00000008 row (typically the 2nd row).
4. In the 5th column of this row, change the value from 03 to 01 directly below FE. Then, click “OK”.
5. Finally, use the “Ctrl + Shift + Esc” keyboard shortcut in Windows 11 to open Task Manager. Under “Processes”, find “Windows Explorer” and restart it by right-clicking.
6. Instantly, the Taskbar will move to the top on Windows 11. If it doesn’t work, restart your Windows 11 PC.
- Left Taskbar – 00
- Top Taskbar – 01
- Right Taskbar – 02
- Bottom Taskbar – 03
8. To restore the Taskbar to the bottom, change the registry value to 03 and restart Windows Explorer.
Move the Taskbar to Your Favorite Position on Windows 11
These are the three ways to move the Taskbar to the top, left, or any position. If you use Registry frequently, manually change the values to adjust the Taskbar alignment. For an easy solution, download the suggested third-party app. That’s all from us. For more registry hacks on Windows 11, visit our linked article. If Taskbar icons are missing on your Windows 11 PC, check out our tutorial. For any questions, leave a comment below.

Pritam Chopra is a seasoned IT professional and a passionate blogger hailing from the dynamic realm of technology. With an insatiable curiosity for all things tech-related, Pritam has dedicated himself to exploring and unraveling the intricacies of the digital world.


