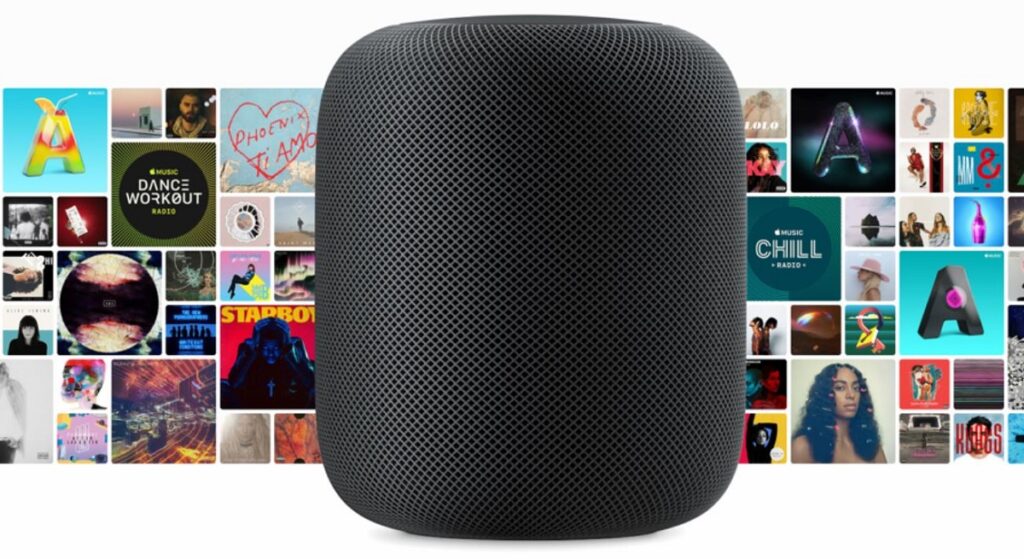

Aside from impressive sound and build quality, the best aspect of HomePod is its deep integration with the Apple ecosystem. The Siri-powered speaker connects seamlessly with Apple devices—iPhone, iPad, and Mac—enabling easy control and management of your smart home devices. Let me guide you through setting up HomePod mini or HomePod and customizing the settings.
Setting Up HomePod mini or HomePod (2022)
Apple offers both automatic and manual setup options for your HomePod. While automatic setup is preferred, manual setup is useful if the setup animation fails to appear.
Notably, HomePod displays various status lights indicating specific functions. To understand what the smart speaker is doing, identify the meaning of each light. Additionally, grasp the HomePod touch controls for swift execution of common tasks. We’ll discuss these essentials after setup. Let’s dive in!
Quick Setup Steps for Your HomePod
1. Place your HomePod on a solid surface with at least 15cm of space around it.
2. Plug your HomePod into a power source and wait for a chime and pulsing white light to appear on the top.
3. Next, unlock your iPhone or iPad and hold it next to your HomePod. Then, tap Set Up when it shows on your device’s screen. Follow the prompts to set up your smart speaker.
4. When prompted, center your HomePod in the viewfinder on your iPhone/iPad to complete the pairing process.
- If you can’t use your camera, tap Enter Passcode Manually. Siri will respond with a four-digit passcode for you to enter on your device.
That’s it! Once the setup is complete, Siri will greet you and offer a few examples of things you can ask.
Set Up Your HomePod Manually
If the setup screen doesn’t show up, you can set up your HomePod manually.
- Open the ‘Home’ app on your iPhone and tap the ‘+’ button at the top-right. Here, tap ‘Add Accessory‘.
- In the scanning screen that appears, tap ‘More Options‘. Your iPhone will search for nearby HomeKit accessories (including your HomePod mini), and the setup should commence.
Use HomePod Touch Controls
- Adjust volume during playback: Simply tap or touch and hold the “+” or “–” button on the top of the HomePod to increase or decrease volume.
- Pause and resume playback: Tap the top of the HomePod to pause playback. Tap it again to resume.
- Go to the next track: Double-tap the top of the HomePod to skip the current song.
- Previous Track: Triple-tap the top of HomePod to go back to the previous track. This function is active only during playlist or album playback.
- Activate Siri: Simply touch and hold the top of HomePod to summon Siri. Alternatively, use the “Hey Siri” command to activate Siri on your HomePod.
- Dismiss Alarm: Tap anywhere on the top of HomePod to dismiss an alarm.
Understanding HomePod Status Lights
Different status lights illuminate atop the HomePod to convey various states. Recognize each one to understand your speaker’s current status.
White Pulsing Light
Indicates readiness for HomePod setup or signals an active alarm or timer.
White Spinning Light

The white spinning light indicates HomePod activation or software updates.
Red Spinning Light
A red spinning light signals HomePod reset.
Multicolored Spinning Light
When Siri listens, a multicolored spinning light appears.
Green Pulsing Light
A green pulsing light signifies phone call transfer to HomePod.
Identify Status Lights on HomePod mini
White Pulsing Light
A white pulsing light indicates audio playback on HomePod mini.
White Spinning Light
The white spinning light on HomePod mini indicates activation or software updates.
Orange Flashing Light
An orange flashing light indicates the HomePod mini is updating its software when connected to a Mac. It also appears if the HomePod mini is plugged into a power adapter not rated 20W.
Green Pulsing Light
When you transfer a call to HomePod mini, a green pulsing light appears.
Multicolored Spinning Light
A multicolored spinning light indicates Siri is listening.
Customize and Manage HomePod Settings
- Open the ‘Home’ app on your iPhone. Touch and hold the HomePod icon.
- Scroll down and tap ‘Settings’. Here, customize all available settings for your HomePod or HomePod mini.
Set Up and Use HomePod mini or HomePod with Desired Control
That’s how to set up, customize, and use HomePod mini or HomePod. While HomePod sales may not threaten Amazon Echo or Google Home, the Siri-powered speaker remains a top choice among Apple users. Where do you rank HomePod among the best smart speakers? Share your feedback.

Pritam Chopra is a seasoned IT professional and a passionate blogger hailing from the dynamic realm of technology. With an insatiable curiosity for all things tech-related, Pritam has dedicated himself to exploring and unraveling the intricacies of the digital world.