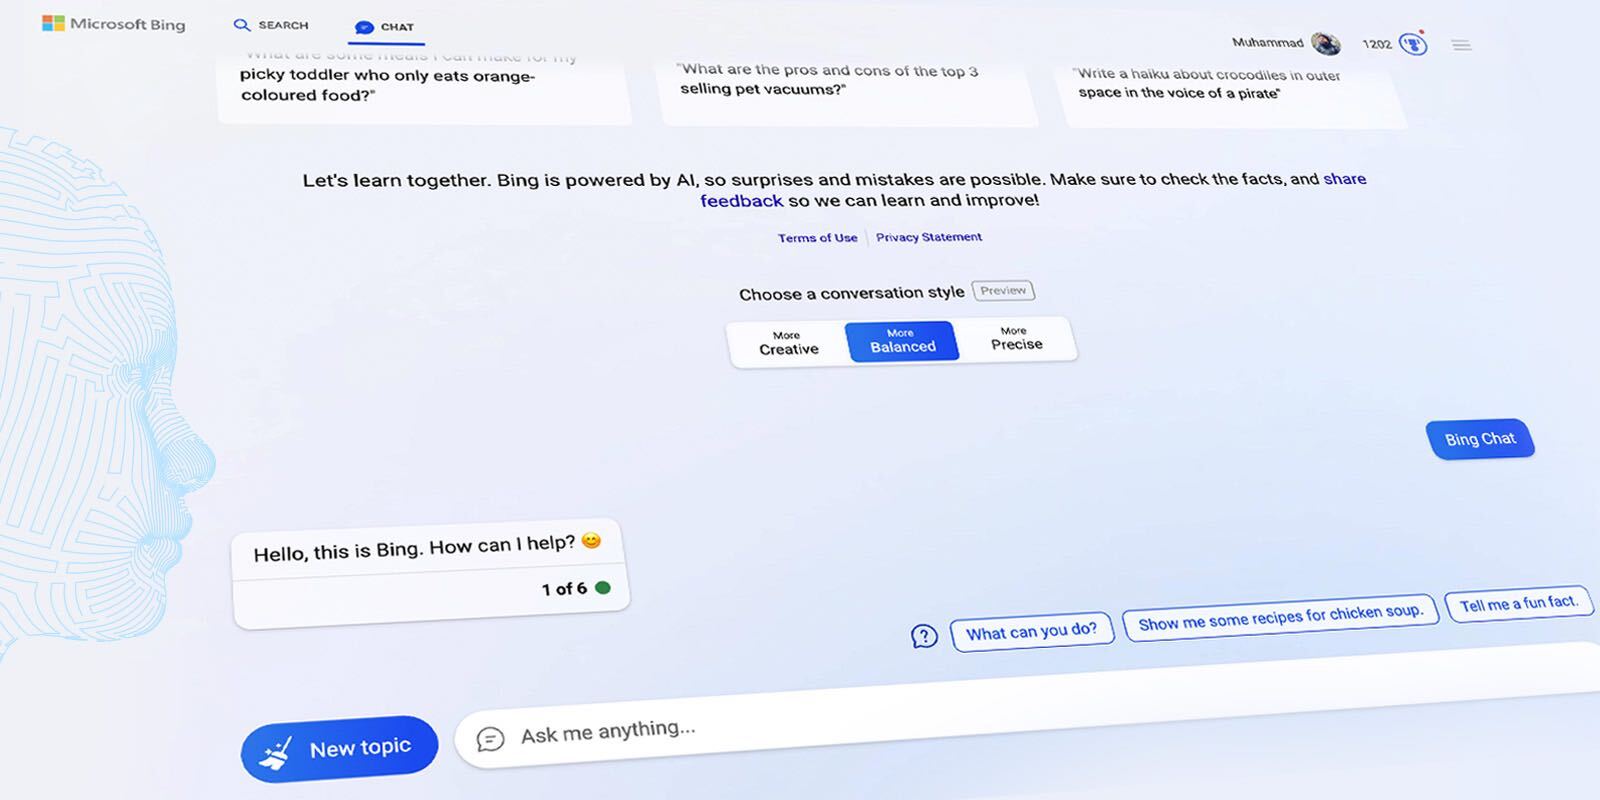
Since its recent launch, Microsoft’s Bing AI has garnered both admiration and skepticism. While some users have engaged extensively with it, others have approached it cautiously. The company has intervened to regulate Bing’s responses. However, a notable constraint of the new Bing AI chatbot is its exclusive compatibility with the Microsoft Edge browser. For those who favor Bing but prefer not to use Edge, there’s now a convenient solution. You can seamlessly employ the new Microsoft Bing AI on any desktop browser. So, open a new tab in Google Chrome, and let’s get started.
To utilize Bing AI Chat in any browser on Windows or Mac, specific prerequisites must be met. However, if you’re already informed, refer to the table below to proceed with the process.
Prerequisites for Bing AI Browser Access
1. Microsoft Account
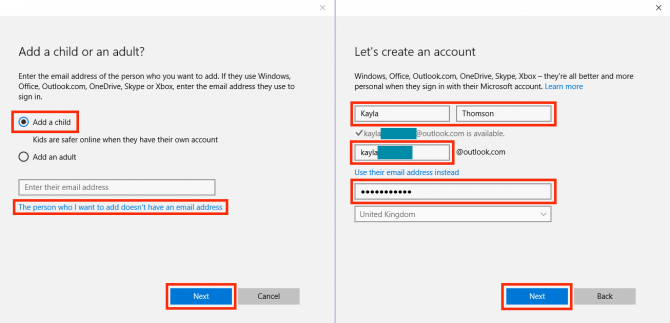
As Bing AI is a Microsoft service, a Microsoft account is necessary. Luckily, creating one is straightforward. Visit the Microsoft Account page (Register) and complete the registration process. Provide basic details and verify your email to proceed.
2. New Bing Access
The new Bing AI chatbot is available with limited access. To begin using it, join the waitlist. After creating a Microsoft account, sign in and visit the official Microsoft Bing website. Click the “Join the waiting list” button.
3. Bing Chat for All Browsers Extension
This final requirement reigns supreme: utilize the new Bing across all browsers. Achieve this feat effortlessly through the ‘Bing for all browsers’ extension, enabling seamless functionality. Fulfill these criteria by promptly acquiring Bing for all browsers (Chrome and Firefox). Seekers of a repository can peruse the Github page (Visit).

Utilizing Bing AI Chat Across Any Desktop Browser
With all components in order, let’s embark on the journey of integrating and utilizing the new Bing AI chatbot on non-Microsoft Edge browsers. Follow these steps meticulously to grasp its functionality.
1. Launch a fresh tab in your browser and locate the Bing browser extension adjacent to the address bar. Upon activation, select the “Open Bing Chat” option.
2. There’s a high chance you will be signed out of your Microsoft account, resulting in landing on Microsoft Bing’s home screen. Click the “Sign in” button at the top right.
3. Enter your e-mail address and password to sign in. If prompted to stay signed in, click “Yes” on the next screen.
4. Close the Bing tab and click on the extension button as shown in the first step. The Bing AI chat mode will then open, and you’re ready to proceed.
Access is granted upon clearance by Microsoft. This necessitates signing up and awaiting confirmation via email. The wait time is minimal. Subsequently, utilize the provided steps to easily integrate Bing across all browsers.
My experience with the Bing AI chatbot across various browsers has been remarkably smooth. The extension launches Bing swiftly and reliably, allowing uninterrupted interactions with the chatbot. I successfully used it on Firefox as well, ensuring compatibility across browsers.
We trust this concise guide facilitates the setup of Microsoft Bing AI on all browsers, whether macOS or Windows. Upon utilizing Bing AI, explore other AI writing apps and creative possibilities with ChatGPT. Alternatively, discover intriguing alternatives to ChatGPT or experiment with the “My AI” chatbot on Snapchat+. For any inquiries, please leave a comment below.

Pritam Chopra is a seasoned IT professional and a passionate blogger hailing from the dynamic realm of technology. With an insatiable curiosity for all things tech-related, Pritam has dedicated himself to exploring and unraveling the intricacies of the digital world.


