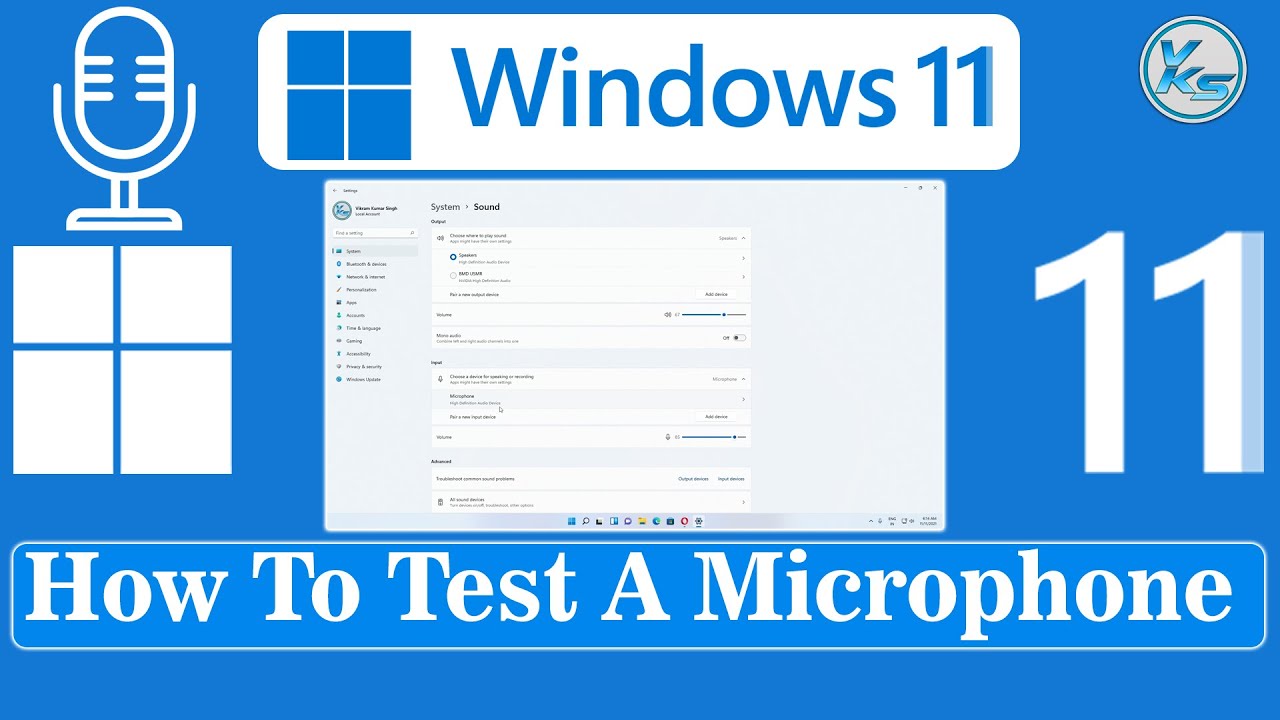
Windows 11 provides built-in utilities for maintaining, servicing, testing, and fixing your PC. For instance, system restore can revert your PC to a functional state. Additionally, Windows 11 includes a troubleshooter that automatically resolves sound issues, including those with your microphone. To test your microphone in Windows 11, access the Settings and Control Panel. You can also enhance microphone sound without third-party apps. Let’s explore how to test your microphone in Windows 11.
Microphone Testing in Windows 11 (2022)
This guide covers setting up both wired and wireless microphones in Windows 11, along with testing methods. Additionally, it provides instructions to boost microphone volume. Let’s begin.
Setting Up a Wired Microphone in Windows 11
Prior to connecting the wired microphone, identify the appropriate port. Let’s proceed to set up the wired microphone in Windows 11.
1. Using a Windows laptop, the 3.5mm audio jack typically handles both sound output and microphone input. Connect the wired microphone to the headphone jack on your laptop. For custom-built Windows PCs, the mic port is pink. Look for the “mic” icon near the ports.
2. After connecting the microphone to the correct port, access Settings by pressing “Windows + I” and navigate to System -> Sound.
3. Under the “Input” section, select your desired wired microphone. That’s all it takes to configure a wired microphone in Windows 11.
Setting Up a Wireless Microphone in Windows 11
To set up a wireless mic via Bluetooth, open Settings and pair the mic with your Windows 11 computer.
1. Ensure your Bluetooth microphone is in pairing mode. Then, open the Settings app from the Start menu or using the keyboard shortcut “Windows + I“.
2. In Settings on Windows 11, navigate to System -> Sound.
3. Scroll down to the “Input” section and click “Add device” beside “Pair a new input device”. This opens the Bluetooth pairing window on your PC.
4. Select “Bluetooth” in the pop-up window.
5. When your wireless microphone enters pairing mode, it will appear here. Once visible, click it and follow on-screen instructions to complete pairing.
6. Done. Ensure the wireless microphone is selected as your default mic under the “Input” section.
Test Your Microphone in Windows 11 via Settings
1. To test your microphone in Windows 11, press “Windows + I” to open Settings. Alternatively, access Settings from the Start menu.
2. Under “System,” navigate to “Sound” in the right pane.

3. Scroll and select “Microphone” under “Input.”
4. Under “Input settings”, click “Start test” beside “Test your microphone”.
5. Begin speaking; observe the voice response. When finished, select “Stop test“.
6. Windows 11 displays the microphone test result below. If it’s above 50%, your microphone works. Otherwise, maximize the “Input volume” slider. That’s all.
Now, retry the microphone test on your Windows 11 PC; it should capture your voice effortlessly.
Test Your Microphone in Windows 11 From Control Panel
1. Test the microphone in Windows 11 via the Control Panel. Press “Windows + R” to open the Run prompt, then type mmsys.cpl and press Enter to access Sound settings.
2. Move to the “Recording” tab, select your microphone, and click “Configure” in the bottom-left corner.
3. In the opened Speech Recognition window, click “Set up microphone“.
4. In the following window, choose “Other” and click “Next”. Select the appropriate option if using a headset or dedicated mic; otherwise, “Other” suffices for built-in mics.
5. Click “Next” and read the sentence on the screen. If the indicator is “green,” your microphone works. Click “Next.”
6. If all is well, it will show your mic is ready. Now, close the window. If the mic had low or high voice pickup, try another method to adjust the volume in Windows 11.
Boost Microphone Volume in Windows 11
1. Use the “Windows + R” shortcut to open the Run prompt. Type mmsys.cpl and press Enter.
2. In the “Sound” window, go to the “Recording” tab, select your microphone, and click “Properties“.
3. Proceed to the “Levels” tab and adjust the “Microphone Boost” level accordingly. Modify it if necessary to manage excess sound.
Fix Microphone Issues in Windows 11
If the microphone malfunctions on your Windows 11 PC, don’t fret. Refer to our comprehensive article detailing steps to rectify microphone problems on Windows 10 and 11. Just adhere to our instructions, and the microphone will resume functioning seamlessly. You might need to reinstall microphone drivers or tweak system settings.
Test and Enhance Microphone Sound on Windows 11
We outline two built-in methods to configure and assess microphone performance on Windows 11. Microsoft impressively integrates microphone testing functionality into the Settings app on Windows 11. Additionally, you can utilize the Control Panel to evaluate and enhance microphone sound. Furthermore, an upcoming Windows 11 feature will display real-time information on software or apps currently utilizing the microphone, a valuable inclusion. To obtain a universal mute switch in Windows 11/10, refer to our provided guide. For any inquiries, feel free to leave a comment below.

Pritam Chopra is a seasoned IT professional and a passionate blogger hailing from the dynamic realm of technology. With an insatiable curiosity for all things tech-related, Pritam has dedicated himself to exploring and unraveling the intricacies of the digital world.


