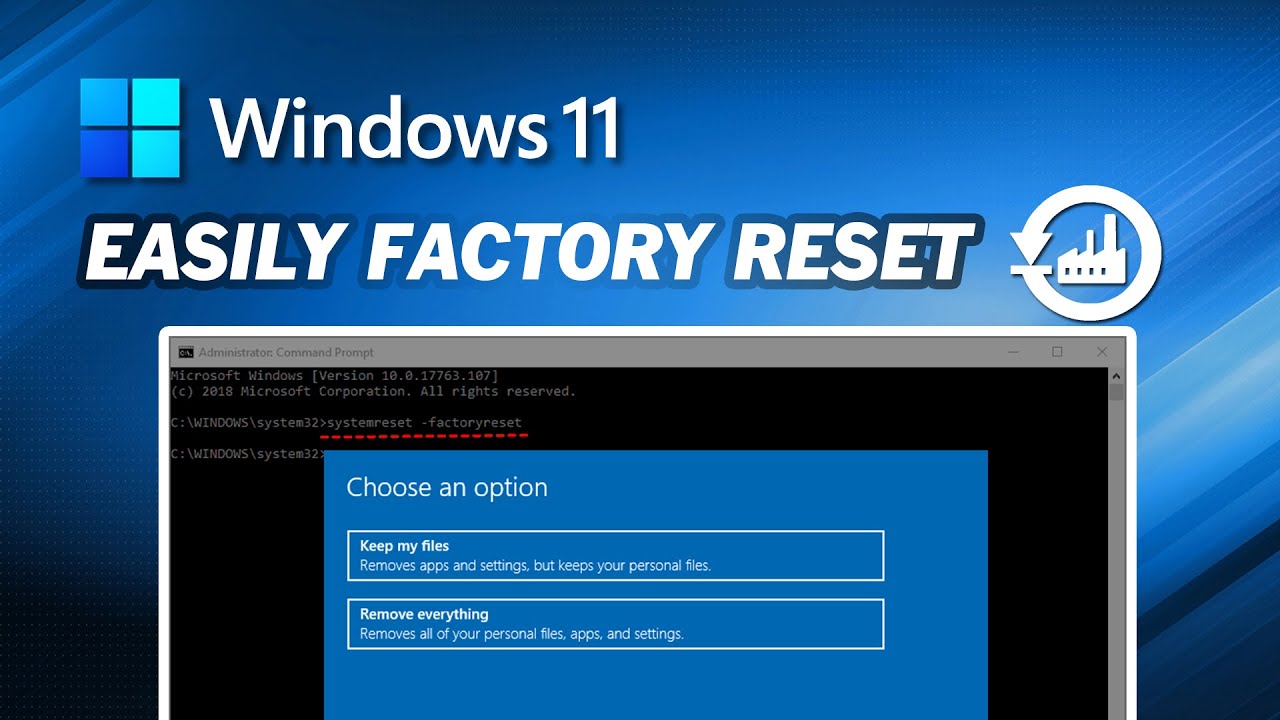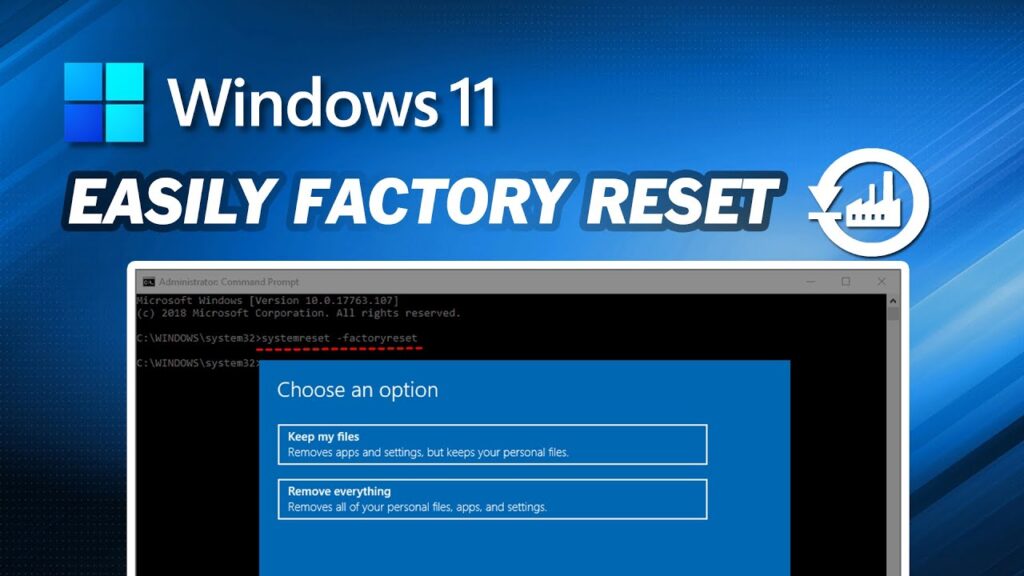
Users who upgraded from Windows 10 to Windows 11 complain about numerous bugs, missing features, issues like non-functional Bluetooth, audio problems, and more. They cannot revert to Windows 10 after the initial 10 days. In this scenario, factory resetting Windows 11 ensures a clean and bug-free experience. This process removes all apps, files, and folders from the C drive, along with Settings preferences and carried-over files. Let’s explore three simple methods to factory reset Windows 11.
Factory Reset Windows 11 (2022)
We present three methods to factory reset Windows 11, suitable even when your PC is not booting.
Reset Windows 11 via Settings App (for Working PCs)
If your PC boots and you can sign in, resetting your Windows 11 is straightforward. Here’s how:
1. Press the Windows key, search for “reset”, and choose “Reset this PC”. Alternatively, use the “Windows + I” shortcut, navigate to “System -> Recovery” in the Settings app.
2. Click “Reset PC” under Recovery options.
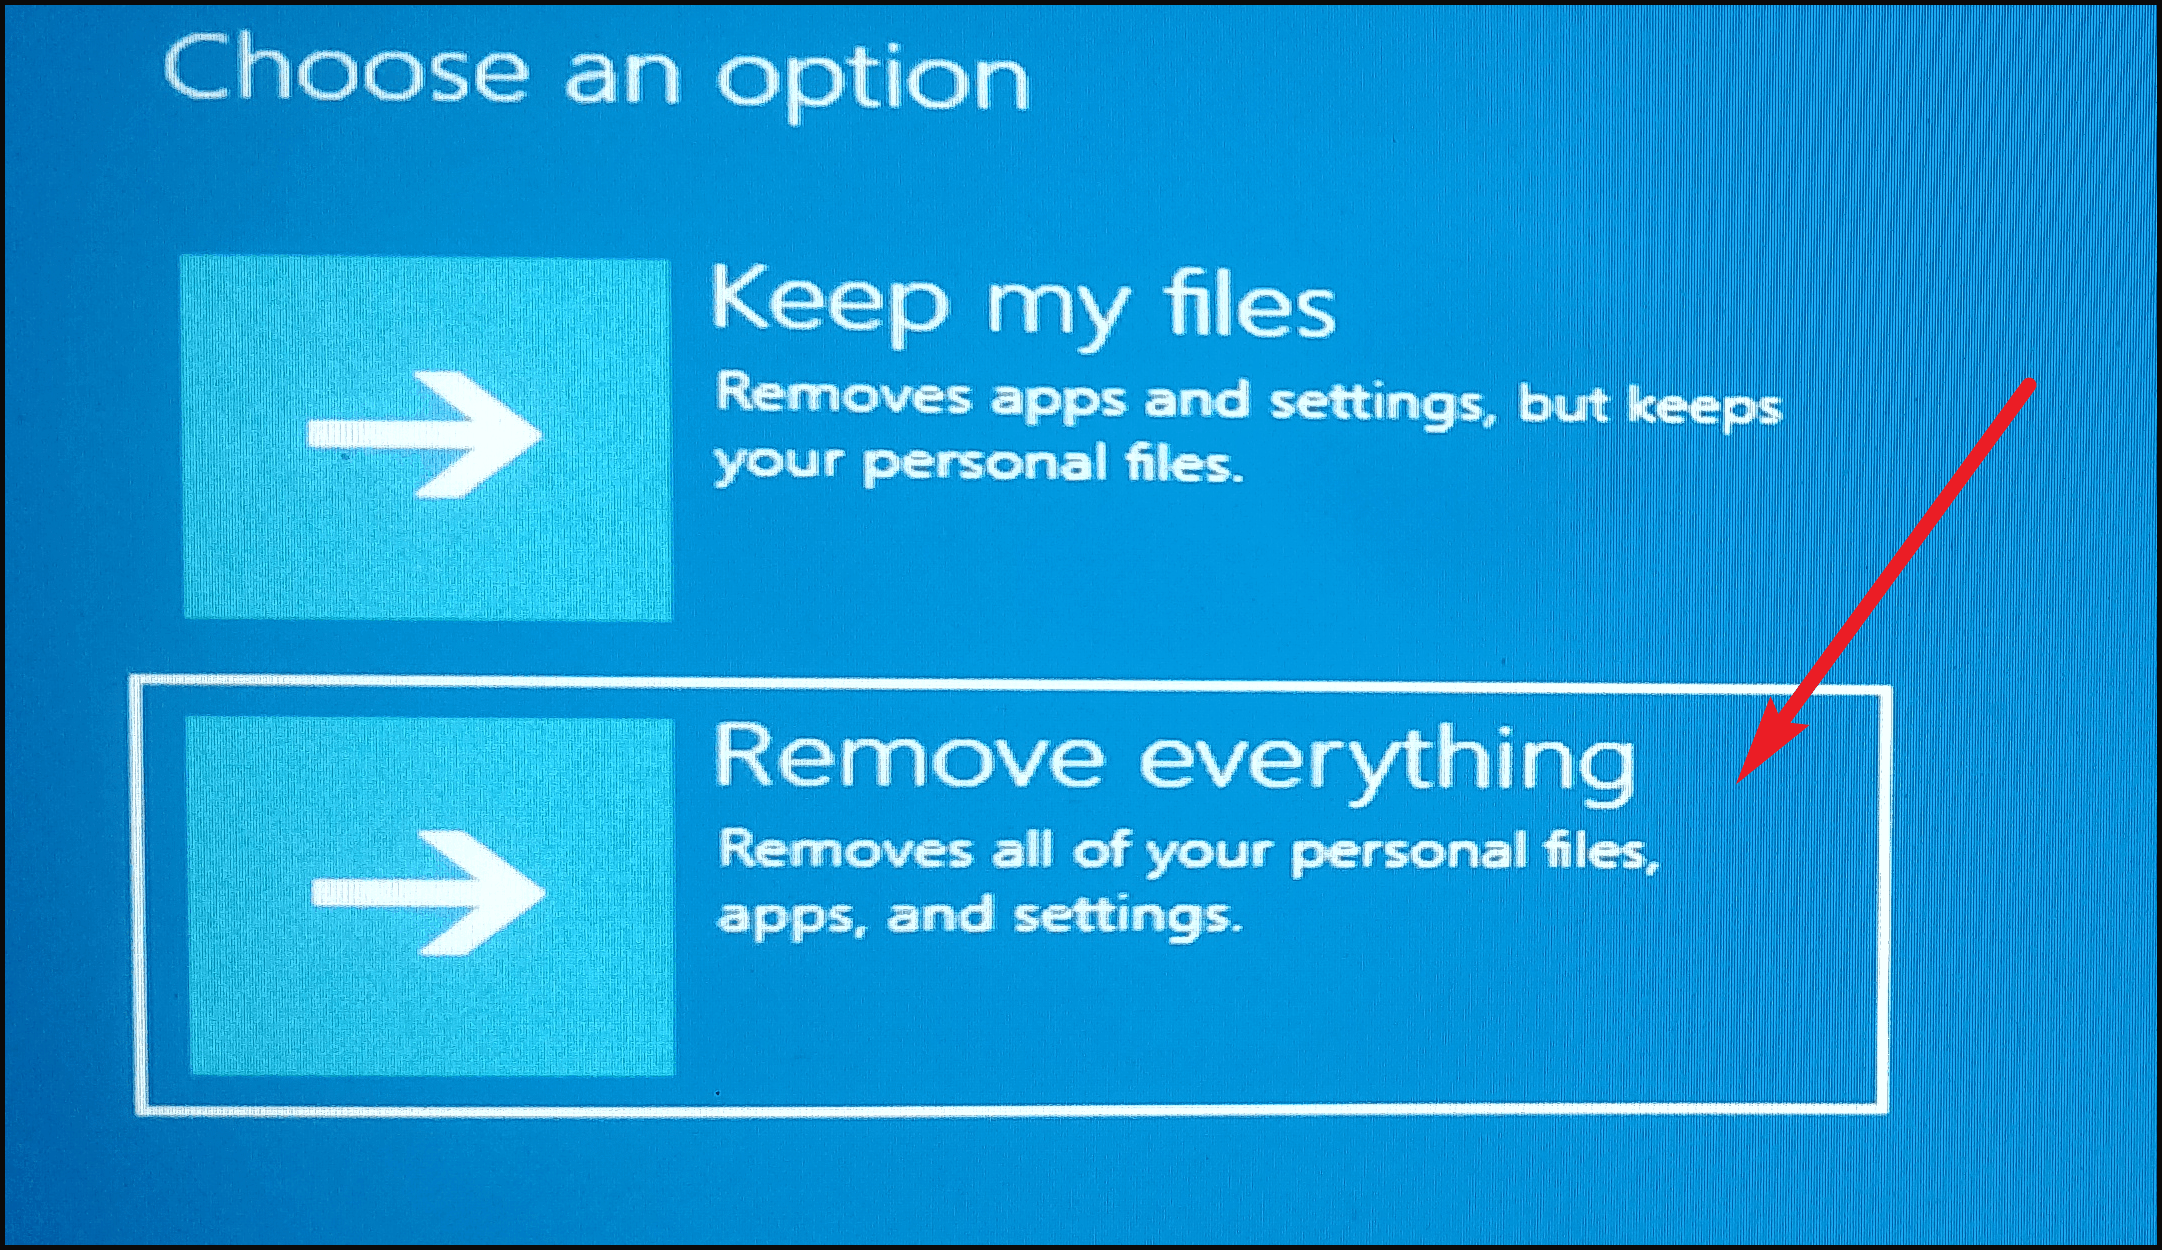
3. A pop-up window will open. Click on “Keep my files“. This option reinstalls Windows 11, removing installed programs but preserving files and folders from other drives, except the C drive. Files in Desktop, Documents, and Downloads will be deleted, so backup these files.
To delete everything, including all PC files, select “Remove everything” before proceeding.
4. Choose the “Local reinstall” option. It reinstalls the current Windows 11 version on your PC, saving time as it’s done locally. To reset your PC and update Windows 11 to the latest stable build, select the “Cloud download” option. It downloads approximately 5GB of Windows 11 files from the internet, taking longer.
5. Adjust any “Additional settings” as desired, then click “Next“.

6. Review the summary and click “Reset“. Your PC will restart, initiating the factory reset process for Windows 11. Simply wait and follow on-screen instructions to set up your PC anew.
Factory Resetting Windows 11 from Recovery (for Non-functioning PCs)
If your PC fails to boot, initiate a Windows 11 reset from the Recovery screen. Typically, when Windows 11 fails to load properly, the Recovery option appears automatically. If not, power on and off your PC when you see the Windows loading sign 2-3 times to prompt the Recovery screen.
1. On the recovery screen, select “Advanced options“.
2. Then, choose “Troubleshoot“.
3. Finally, opt for “Reset this PC”.
5. Select Keep my files -> Local reinstall. This mirrors the previous process, accessed through Recovery mode in Windows 11. Alternatively, choose “Remove everything” to delete all files and programs, or opt for “Cloud download” to reinstall the latest stable Windows 11 from the internet.
6. Your PC will restart, initiating the Windows 11 factory reset. Follow on-screen instructions to set up your Windows 11 computer anew.
Factory Reset Windows 11 with Bootable USB Drive (for Non-Functioning PCs)
If prior methods failed, perform a clean install of Windows 11 to reset your computer to factory settings. Refer to our comprehensive guide on installing Windows 11 from USB for step-by-step instructions. This process will erase all files and programs from the C drive (without affecting other drives) and reinstall the latest stable version of Windows 11, effectively resetting it to factory conditions.
Revitalize Your Windows 11 PC
Here are three methods to factory reset your Windows 11 PC. If you can access your computer, use the straightforward method. Otherwise, employ the alternate methods to restore functionality. That concludes our guide. If you wish to establish a local account on Windows 11 Home post clean installation, consult our tutorial. Additionally, our guide can assist you in booting Windows 11 in safe mode. For any queries, please leave a comment below.

Pritam Chopra is a seasoned IT professional and a passionate blogger hailing from the dynamic realm of technology. With an insatiable curiosity for all things tech-related, Pritam has dedicated himself to exploring and unraveling the intricacies of the digital world.


