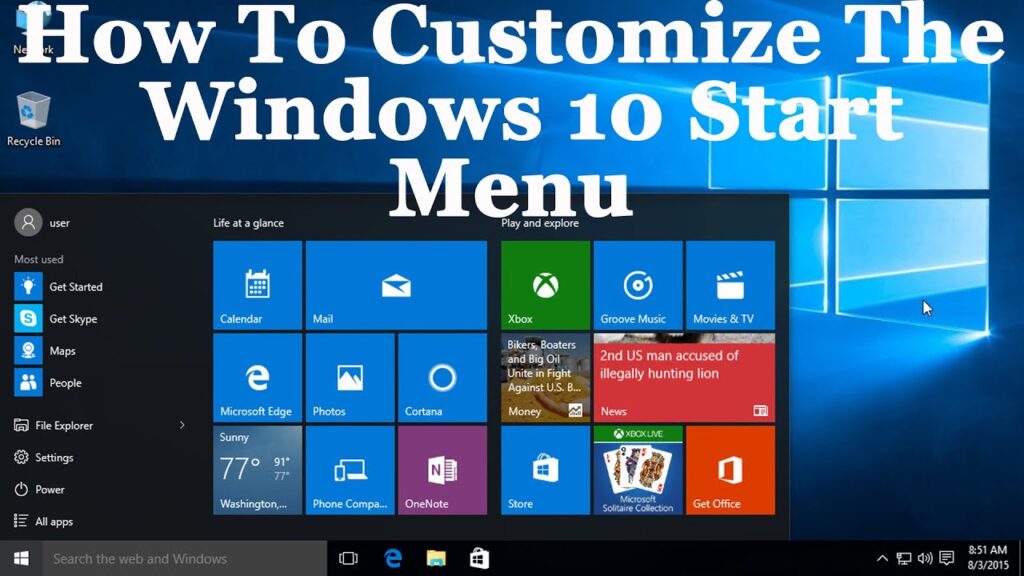

Remember the classic Windows Start Menu? Well, it’s back in Windows 10, albeit with some mixed feelings. While some users appreciate its familiarity, others aren’t as fond of it. The Start Menu in Windows 10 combines elements from both Windows 7 and the tile-based interface of Windows 8.
Despite its functionality, there’s room for improvement. Fortunately, there are numerous methods to tailor the Windows 10 Start Menu to your preferences. And if the built-in options don’t suffice, third-party applications offer further customization possibilities.
Efficient Customization Tips for Windows 10 Start Menu:
1. Resize the Start Menu
Resizing the Start Menu in Windows 10 is as simple as resizing any other window. Just hold the corner of the Start Screen and resize it to your preference. When you resize the Start menu, the tiles adjust accordingly. For instance, reducing the width of the Start menu will cause the tiles to stack below, allowing you to scroll down to view them.
2. Pin and Unpin Tiles
You can pin nearly anything to the Start menu in Windows 10. Pinning an app to the Start menu is achieved by right-clicking on its icon and selecting “Pin to Start”. Unpinning a tile can be done by right-clicking on it and choosing “Unpin from Start”. Besides apps, you can also pin websites, documents, settings, and more to the Windows 10 Start menu.
3. Resize the Tiles
Resize tiles to fit your needs. Not all tiles offer live updates; for those that do, choose at least a medium size. Larger tiles display more information. For instance, the Mail tile shows one email in wide size but three emails in large.
Right-click on a tile to resize it. Select “Resize” to see available sizes.
Note: Not all tiles support every size.
4. Editing, Creating, and Moving Tile Groups
The Windows 10 Start menu allows you to organize tiles into groups based on their category. By default, you’ll find two groups: “Life at a glance” and “Play and Explore“. Editing them is simple – just click on the group name.
You can also create a new group by dragging a tile to an empty section in the Start menu. This action automatically generates a new group, with an option to “Name group” provided above.
Furthermore, moving a tile group is effortless. Simply hold the top of a group and drag it to your desired location on the Start menu.
5. Turn On or Off Live Tile Updates
Live tiles, dubbed so because they provide live information on the tile, can be disabled if not preferred. Live tile updates consume internet data for real-time updates, thus can be disabled for those on limited data plans. Disable live tile updates by right-clicking a tile and selecting “Turn live tile off“. To enable live tile updates, right-click the tile and select “Turn live tile on“.
6. Customize the Start Menu Color
To personalize your Start Menu, navigate to “Settings“, and select “Personalization”. Within the Personalization settings, access “Colors“, where you can opt to “Manually select an accent color” instead of relying on automatic selection.
You’ll also find an option to “Show color on Start, taskbar, and Action Center“. Disabling this option will render the Start Menu, taskbar, and Action Center in black.
7. Create a Transparent Start Menu

In Windows 10, you have the choice to make the Start Menu transparent or non-transparent. Within the “Personalization” settings, you’ll find the option to “Make Start, taskbar and Action Center transparent” in the “Colors” tab, allowing you to adjust the transparency of the Start Menu.
8. Select folders for the Start Menu
You can select folders to display on the Start menu. In the “Personalization” settings, navigate to “Start,” which includes a highlighted “Choose which folders appear on Start” button. Clicking this button presents a list of folders for inclusion on the Start menu. Toggle a folder to “On” to include it or “Off” to exclude it. Options include Documents, Downloads, Music, Videos, Homegroup, Network, or a personal folder.
9. Achieve a full-screen Start, akin to Windows 8
Some people loved the full Start Screen on Windows 8 / 8.1, and Microsoft now offers an option to switch to it in Windows 10. In the “Personalization” settings, you’ll find “Use Start full screen” under the “Start” tab, bringing back the Windows 8 full-screen Start.
10. Shuffle between Start Screen and Start Menu
Microsoft allows you to switch between the Start Screen and Start Menu in Windows 10. In the “Action Center“, there’s a “Tablet mode” toggle, which, when clicked, brings up the full-screen Start. Click it again to return to the usual Start Menu.
11. Pin Chrome apps to Start Menu
Microsoft enables pinning Windows apps and Chrome apps to the Start menu. To pin a Chrome app, open it in Chrome and click the hamburger menu in the top right corner. Then, select “More Tools” and “Add to taskbar”. Remember to check “Open as window” to use the app separately. This action will add the app to the Start menu.
12. Pin Webpages to Start Menu
Windows 10 allows pinning websites from Chrome or Edge to the Start menu. In Chrome, follow the same steps as adding Chrome apps. Open the webpage, click the Chrome hamburger menu, then select “More tools” and “Add to taskbar”.
Pin a website to the Start menu easily with Microsoft Edge. Open the webpage you want to pin, then click the three-dot button at the top right and select “Pin to Start”.
13. Customize Start Menu with Third-party Apps
Some prefer a Windows 7-style Start Menu. Third-party apps offer options for Windows 7 or even Windows XP Start menus. You can also find apps for creating attractive tiles in the Windows 10 Start menu.
Classic Shell
Start10
Start Menu 8
Start Menu 8, a Windows app, introduces new Start menus. The app, available since Windows 8, is also compatible with Windows 10. It offers stylish Start menu icons and two menu styles: Flat and Classic Windows 7. Customization options are extensive for both styles. Start Menu 8 is free.
TileCreator
Not all Windows apps optimize for Tiles, sometimes making the Start menu appear barren. TileCreator enables custom tiles creation with desired images and colors. Apps can be set to launch from custom tiles. For instance, creating a ‘Beebom’ tile allows launching any app upon opening it. TileCreator is free on the Windows Store, requiring TileCreator Proxy for custom tile creation.
Here are the best methods to customize the Windows 10 Start menu, according to us. What’s your favorite way? Share in the comments!

Pritam Chopra is a seasoned IT professional and a passionate blogger hailing from the dynamic realm of technology. With an insatiable curiosity for all things tech-related, Pritam has dedicated himself to exploring and unraveling the intricacies of the digital world.