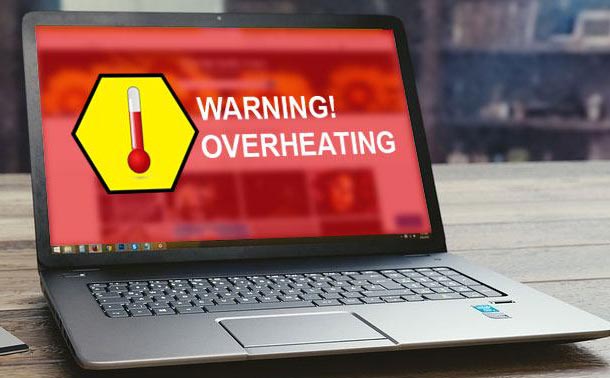
Laptop overheating is increasingly common today, largely owing to the trend of slimming down laptops over time. For instance, Apple’s 12-inch MacBook boasts a fan-less design, while modern gaming laptops like the new Alienware 15 & 17 house potent GTX 1070 and GTX 1080 graphics cards within their sleek frames. However, cramming such power into a slim laptop often compromises thermal performance, leading to overheating issues.
Overheating not only hampers the laptop’s performance but also triggers thermal throttling, particularly noticeable during gaming sessions when sudden drops in frame rates occur due to processor overheating. Therefore, we aim to assist you in diagnosing and resolving your laptop’s overheating woes. Here are some effective methods:
Overheating Monitoring
Monitoring overheating is essential for diagnosing the issue’s root cause. Identifying the heat source—whether it’s the processor, graphics card, motherboard, or RAM—is crucial before attempting any fixes. Various monitoring software options are available, but I favor HWiNFO for its detailed component insights, including individual core temperatures.
To download HWiNFO, visit their website according to your Windows version. Prior to monitoring your laptop’s temperature, play games for a bit. When you notice overheating, inspect the temperature readings using HWiNFO. If any component exceeds 85 degrees Celsius, there’s an issue.
Fixes for Overheating Systems
1. Undervolt the CPU
Anything above 85 degrees Celsius is considered hot for a PC component, especially in a hot and humid country like India. A CPU should never run hot as constant overheating reduces its longevity. If your CPU is causing excessive heat, undervolting it can significantly reduce temperatures, typically by 5 to 15 degrees Celsius. Laptop manufacturers often supply more voltage to the CPU than necessary, leading to increased heat dissipation and power consumption.
Undervolting your CPU doesn’t harm the processor but reduces power consumption and heat dissipation, improving longevity. Here’s the process:
- Download Intel’s Extreme Tuning Utility software.
- Install and run the software to examine CPU temperatures and default settings. Save a picture of the settings before proceeding.
- Adjust the slider under Core Voltage Offset to decrease it by -0.050V increments. Start at -0.050V and click “Apply”. You’ve undervolted your CPU successfully, but there’s more to do.
- Download stress testing software like Prime95, popular for pushing CPUs to their limits. After installation, launch the software. When prompted, select Small FFTs and click OK to begin the stress test.
- Run the test for 10 minutes and stop the torture test by going to Test -> Stop. Then click Exit to close Prime95. If you faced no issues during the test, you’re fine to undervolt further by reducing the voltage by -0.050V. However, if you received a Blue Screen of Death (BSoD) and your PC restarted, revert back to the previous voltage.
You received the Blue Screen of Death due to insufficient voltage supplied to the CPU. After your PC restarts, Intel XTU will revert back to stock settings automatically, eliminating the need for concern. This procedure involves finding your laptop’s and processor’s sweet spot by gradually reducing voltage until encountering the blue screen, then returning to the prior voltage settings. This establishes the optimal voltage required by your CPU.
2. Underclock your GPU
If not your CPU, then the next possible reason for your laptop overheating is the graphics card. Underclocking the GPU can remedy overheating. This process takes barely two minutes and requires software like MSI Afterburner, which you can download here.
After installing the software, use the slider below the Core Clock & Memory Clock options to reduce it. Then, click the icon indicated by a tick mark to apply these settings.
Decrease it as desired, but be aware that gaming performance will also decrease depending on how much you reduce the Core clock and Memory clock of your GPU. Nevertheless, this is an easy and effective method to lower the temperature of your GPU.
3. Changing the Performance Mode in BIOS

- To access the BIOS, restart your laptop and repeatedly press the F12 key. Once in the BIOS, navigate to “BIOS Setup” to reach the BIOS menu.
Note: The key to access BIOS may vary for your laptop. A quick Google search can provide the necessary information.
- In the BIOS menu, select the “Advanced” tab and proceed to “Performance Options”.
- Within Performance Options, adjust settings for CPU and Fan Performance Modes. Optimal temperature reduction can be achieved by disabling CPU Performance Mode and enabling Fan Performance Mode.
That’s it, your system fans will crank up to full speed, subsiding the laptop overheating issues.
4. Laptop Cooling Pad
Laptop cooling pads aren’t new. Despite years of existence, their benefits are still debated. Some argue it’s not worth the price, as it only reduces the operating temperature by 2 to 5 degrees Celsius. Yet, some report significant drops with high-end models. Many cooling pads now have built-in fans and temperature sensors.
Laptop cooling pads commonly draw power directly from your laptop through a USB cable. While numerous options are available on Amazon, note that the effectiveness in reducing operating temperature varies depending on the cooling pad chosen. Even with a premium cooling pad, significant temperature drops should not be anticipated. However, if you seek modest enhancements in your laptop’s operating temperature at a cost, it could prove a worthwhile investment.
5. Upgrade Thermal Paste
Note: This method involves opening your laptop and removing components. If you’re unsure, seek assistance from an experienced technician. We won’t be liable for any damage to your laptop.
Thermal paste, a thermally conductive compound, is applied between the CPU and heat sink to facilitate heat transfer. It’s crucial for maintaining processor thermals.
The factory-applied thermal paste in your laptop is typically low quality and may not be applied well. Imagine a factory where an employee applies thermal paste to hundreds of laptops daily. They may not achieve perfect application on every CPU and GPU. That’s why we suggest replacing the stock paste with a higher quality option, such as the Cooler Master MasterGel Maker Nano, available on Amazon.
To request technical assistance, contact your laptop manufacturer. High-quality thermal paste reduces laptop temperatures by at least 5 degrees Celsius. After removing components, wipe off old paste with Isopropyl alcohol before applying new. Apply new paste to both CPU and GPU to lower operating temperatures.
6. Replace Faulty Fans
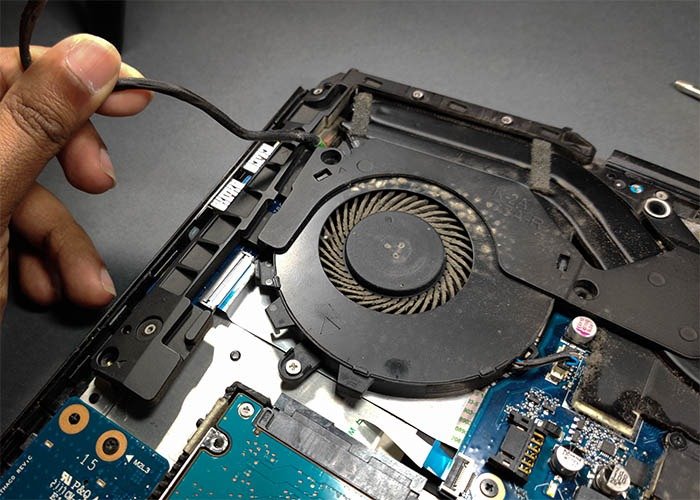
Dust can impact your laptop’s performance. Over time, dust clogs vents and exhaust fans, restricting airflow and cooling. Consequently, operating temperatures may rise, leading to overheating issues. Regular cleaning is necessary to remove dust from vents and fans.
Another common reason for laptop overheating is faulty fans. If a fan in your laptop isn’t working or spinning at full potential, it affects airflow, leading to overheating. Ensure all fans inside your laptop are working properly. If not, contact your laptop manufacturer for replacement.
Ready To Fix Laptop Overheating?
Diagnosing and fixing thermal issues on your laptop isn’t difficult. In most cases, you can do this without contacting your laptop manufacturer. Now that you understand the causes of overheating and how to fix them, are you ready to try it yourself? Let us know how this article has helped reduce your laptop’s temperatures and share your thoughts in the comments below if you’d like to see more articles like this in the future.

Pritam Chopra is a seasoned IT professional and a passionate blogger hailing from the dynamic realm of technology. With an insatiable curiosity for all things tech-related, Pritam has dedicated himself to exploring and unraveling the intricacies of the digital world.


