
Screen recording serves diverse purposes across devices, from gamers capturing their standout moments to individuals crafting instructional videos for loved ones. While third-party apps are commonplace for Windows users, the built-in screen recorder within Windows 10 remains a hidden gem for many.
Microsoft has integrated a screen recorder in the new Xbox app for gaming clips, also applicable for other apps. Attention to gamers in Windows 10 is evident with features like Game Streaming, Game DVR, and syncing with Xbox 360 and Xbox One. Limitations include the inability to record in high-resolution, potentially a deal breaker for some. However, for a hassle-free screen recorder, this should suffice. Let’s dive into how to use Windows 10’s built-in screen recorder.
Using Windows 10’s Built-in Screen Recorder
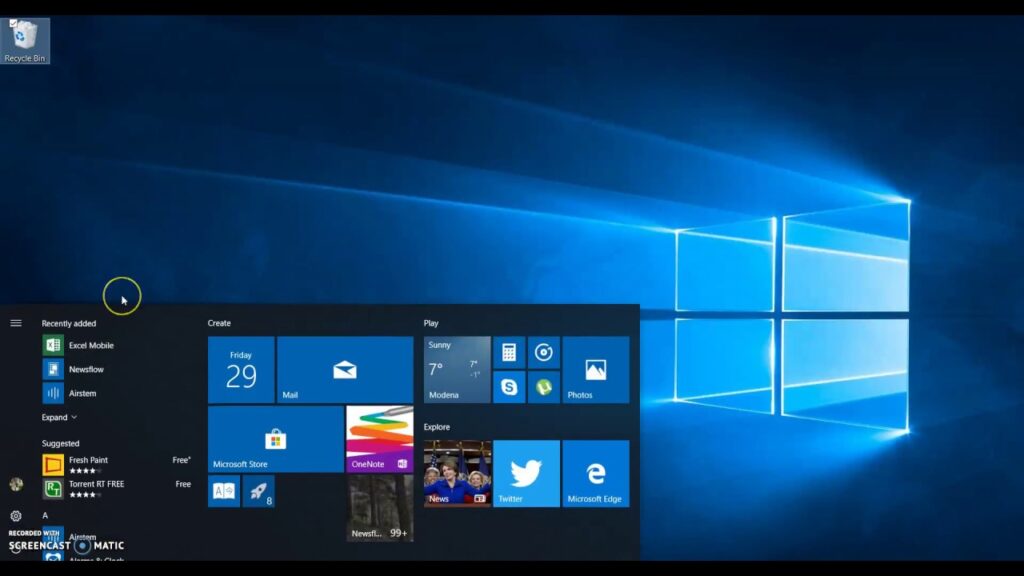
1. Access the Start Menu and find the Xbox app. If you can’t locate it, use Cortana’s search box.
2. Once the Xbox app is open, press “Win + G” to activate the Game Bar on the desired screen for recording or screenshots.
3. Game Bar will prompt if the current screen is a game; simply confirm by checking the box labeled “Yes, this is a game”.
4. You’ll then see the Game Bar with options to navigate to the Xbox app, “Record that”, “Screenshot”, “Start Recording”, and “Settings”.
5. Enabling “Background Recording” in Game Bar Settings activates the “Record that” feature, instantly capturing the last 30 seconds of your gameplay or screen activity.
You can also use “Screenshot” to capture the current screen. Pressing “Start Recording” initiates screen recording. Access the “Settings” button to configure Game DVR settings, including enabling “Background Recording“, app recognition, and more.

6. Screenshots and videos are stored in “C:\Users:\[username]:\Videos:\Captures“. Edit or share them freely. Additionally, access them via the Xbox app under the Game DVR tab.
7. Configure various “Game DVR” features in the “Settings” tab in the Xbox app’s hamburger menu. This enables you to customize screenshot and video recording shortcuts.
To change the folder for saving screenshots and videos, adjust the settings accordingly. You can modify the “Video Quality” and “Video Resolution” of screen recordings and enable audio recording for commentary.
- Open Game Bar – Win + G
- Record that – Win + Alt + G
- Start/Stop Recording – Win + Alt + R
- Take Screenshot – Win + Alt + Prt Sc
- Show/hide recording timer – Win + Alt + T
Note:
- AMD: Radeon HD 7000 series, HD 7000M series, HD 8000 series, HD 8000M series, R9 series, and R7 series.
- NVIDIA: GeForce 600 series or later, GeForce 800M series or later, Quadro Kxxx series or later.
- Intel: HD graphics 4000 or later, Iris Graphics 5100 or later.
2. Windows 10’s built-in screen recorder doesn’t allow desktop recording; you must be within an app.
3. The Xbox app must be open for Game DVR to function. Videos are MP4s; images are PNGs.
While not feature-rich, Xbox Game DVR’s screen recorder gets the job done.
This concludes our Windows 10 built-in screen recorder tutorial. For questions, leave a comment below.

Pritam Chopra is a seasoned IT professional and a passionate blogger hailing from the dynamic realm of technology. With an insatiable curiosity for all things tech-related, Pritam has dedicated himself to exploring and unraveling the intricacies of the digital world.