Our iPads serve myriad purposes. Whether jotting notes with Quick Note or adding widgets for organization, actions vary. Yet, one universal function is screen recording, ideal for capturing moments or sharing content. Uncertain how to proceed? Fear not. Below is a streamlined guide for effortless iPad screen recording.
Streamlined Steps for iPad Screen Recording (2021)
This guide provides instructions on iPad screen recording and suggests third-party screen recording apps for users seeking enhanced control. Use the table of contents to navigate.
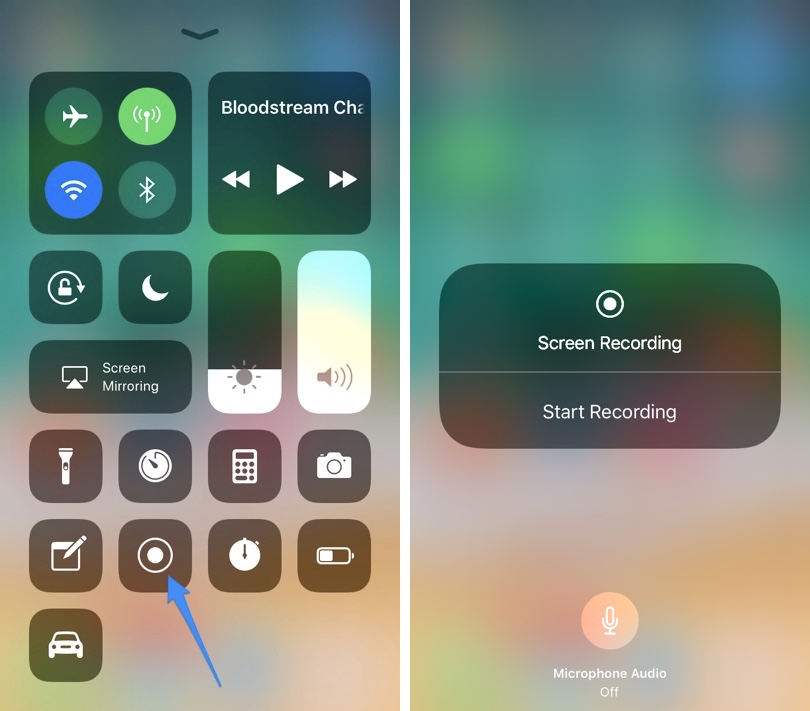
Adding Screen Recording Button to Control Center
Before initiating iPad screen recording, configure the Control Center to ensure easy access. Simply follow these steps:
1. Open the Settings app on your iPad.
2. Navigate to the Control Center using the left sidebar. You’ll find the “Included Controls” there. If the Screen Recording button isn’t visible, add it.
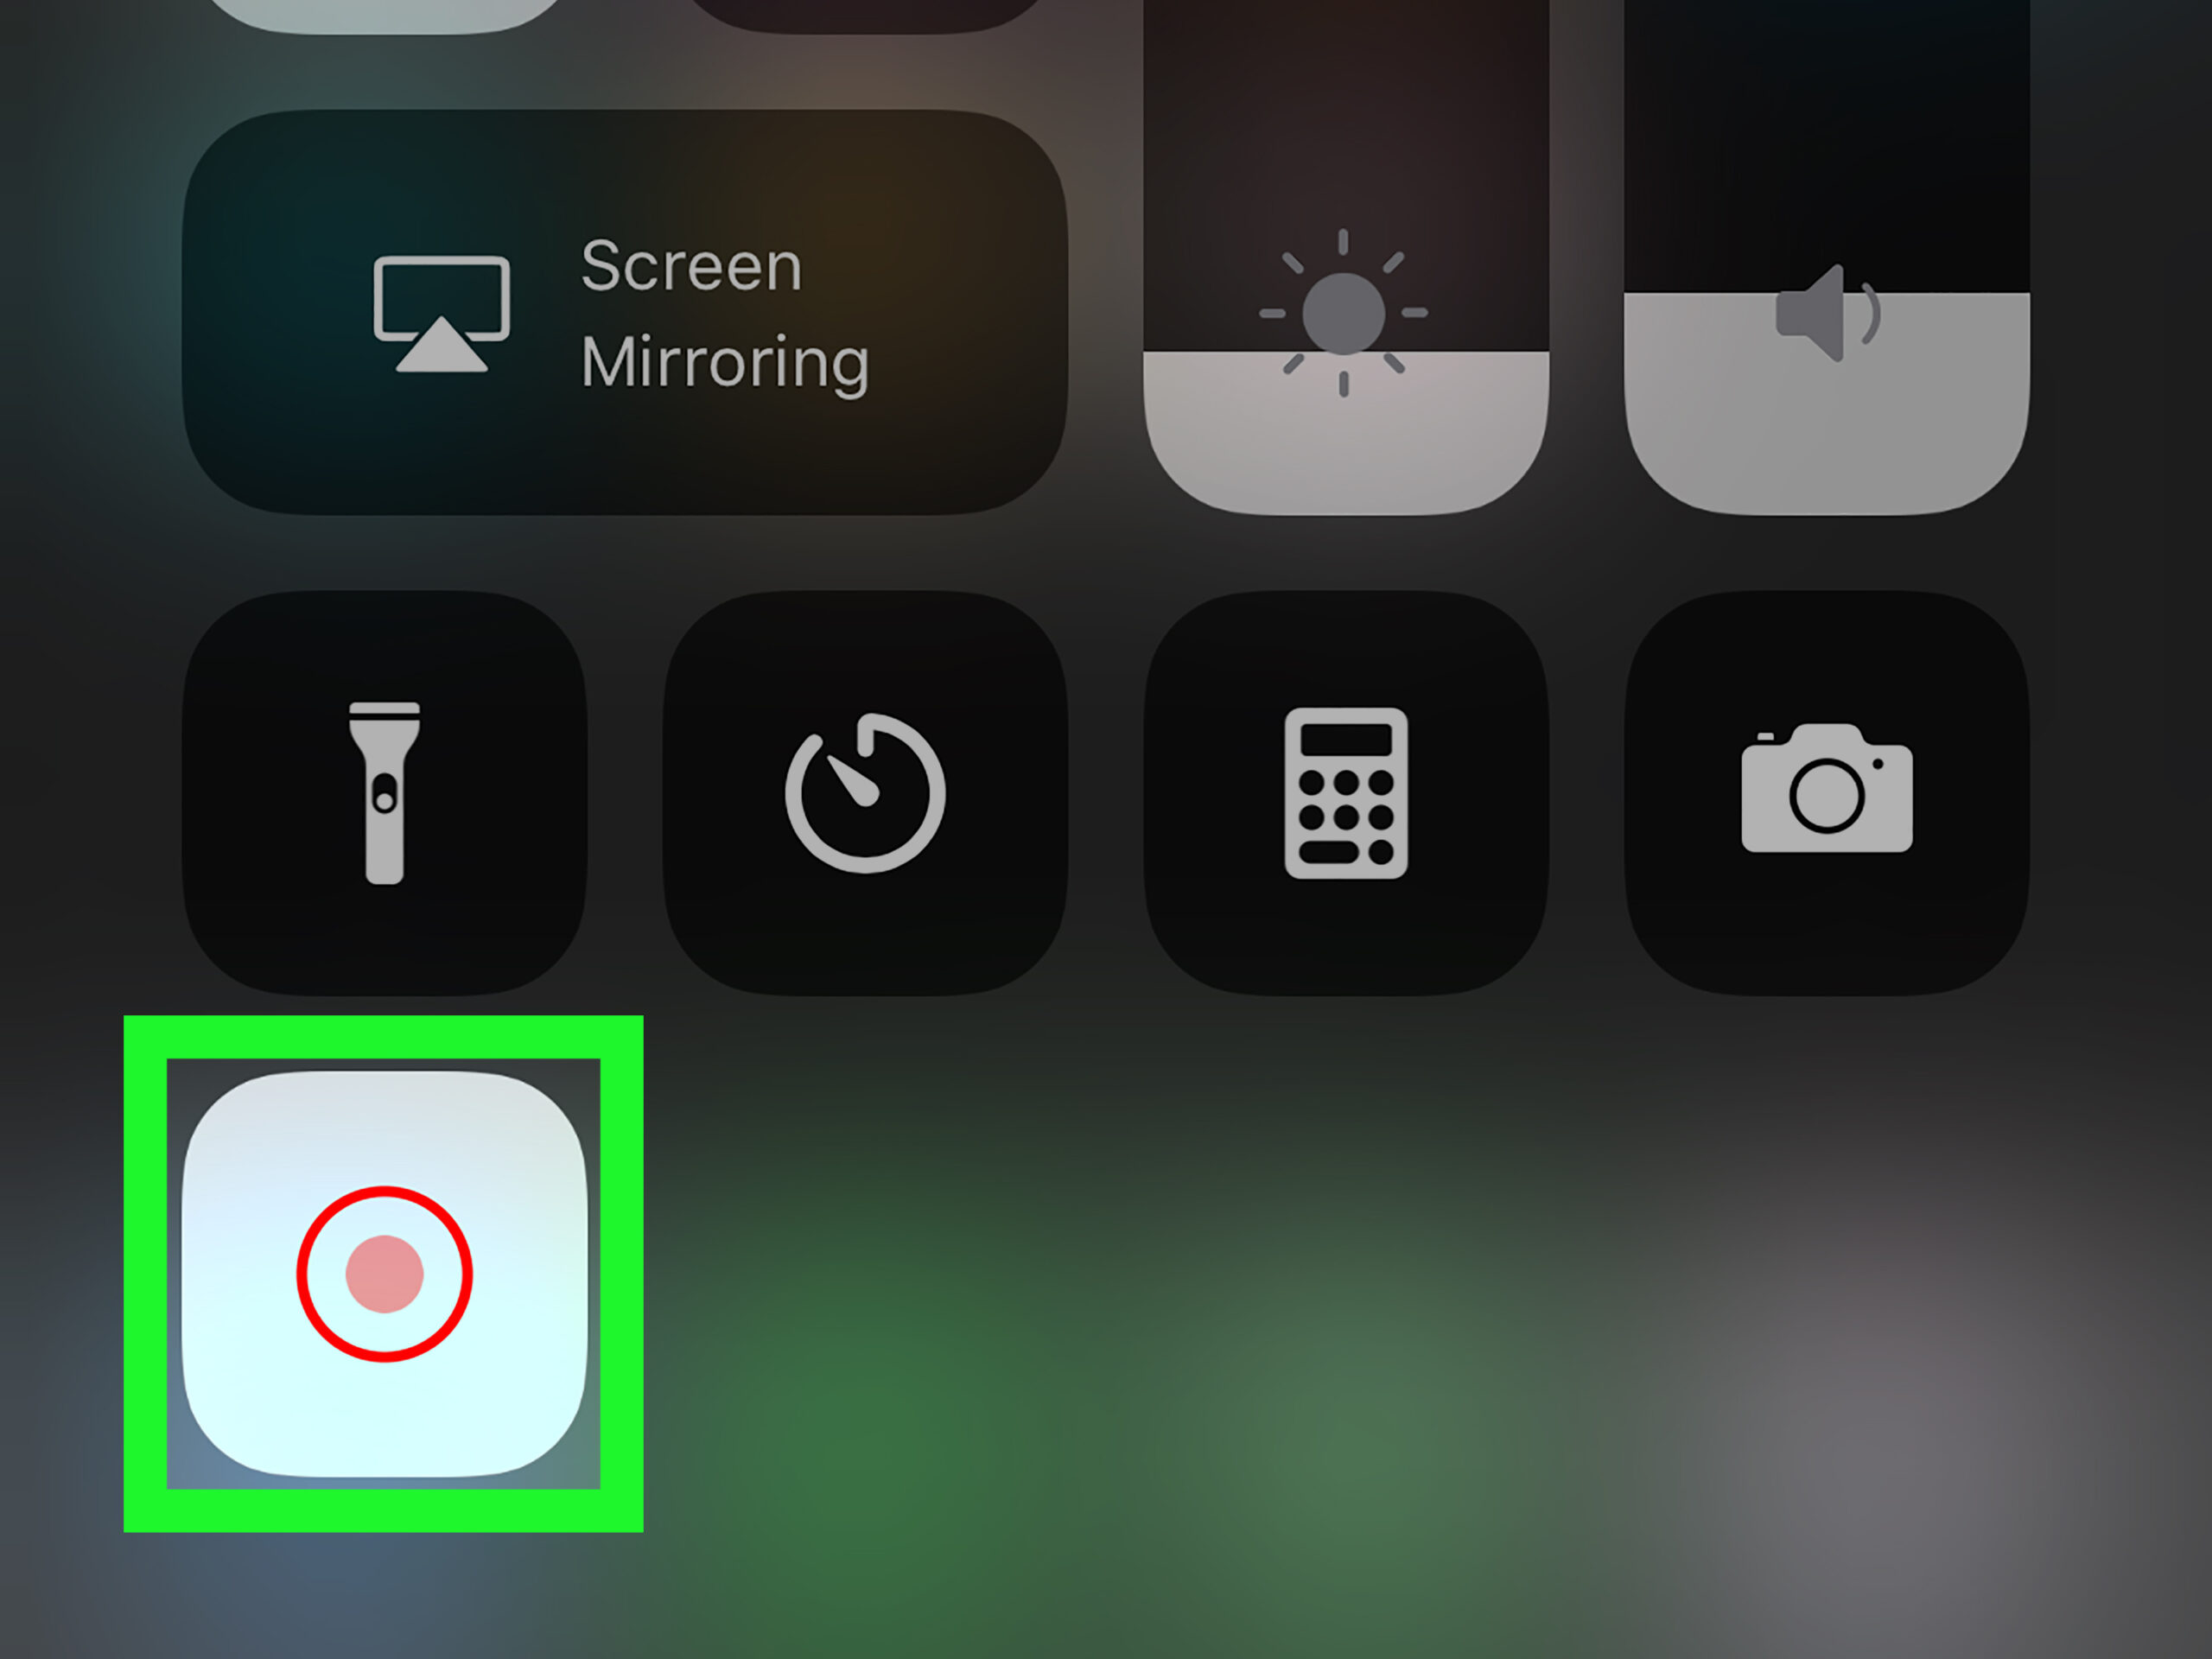
3. Scroll to “More Controls” until you locate “Screen Recording”. Tap the green (+) icon to add it.
4. Turn on “Access Within Apps” so you can screen record across apps on your iPad in the future.
Now, the Screen Recording button will appear when you swipe down from the top right corner of your iPad’s screen, indicated by a classic recording icon.
How to Screen Record on iPad
Now that the grunt work is done, let’s explore how to start screen recording on your iPad. Screen recording on iPad captures internal audio, such as games and YouTube, allowing you to use it with any app. We’ll focus on recording the home screen for this tutorial.
1. Swipe down from the top-right corner of your iPad’s screen to access the Control Center.
2. Tap the screen recording button and wait for the countdown to begin.
3. Close the Control Center by swiping up and wait for the Screen Recording to activate. You’ll see a red recording icon appear on the top right, indicating that recording has commenced. Now, you’re ready to record anything on your iPad.
4. To stop screen recording on iPad, tap the red button at the top right and select “Stop” from the confirmation pop-up.
Congratulations, you’ve saved your first screen recording! Repeat the process to record any app or website as many times as you want. Find your recordings in Photos -> Screen Recordings.
How to Screen Record with Audio on iPad
Sometimes, you need audio in your screen recordings to convey information. This feature is useful for giving feedback on school or office projects. Fortunately, iPad lets you use the native microphone to record your voice while screen recording. Follow these steps to screen record with audio on iPad.
1. Swipe down from the top-right corner of your iPad’s screen to open the Control Center.
2. Tap and hold the screen recording icon, and a menu will appear.
3. From the menu, tap the “Microphone” icon to activate it. The icon will turn red, indicating microphone activation for voice-over during screen recording. You can also choose other save locations for your recordings, depending on compatible apps available on your iPad.
4. When you begin screen recording, the orange indicator will display alongside the red recording icon at the top right corner, signaling microphone usage.
That’s it. You can now record your iPad’s screen with audio. Simply narrate your content, and it will be captured. Follow the same steps to disable this feature.
Editing Recorded iPad Videos
Done recording and ready to edit? There are various options to quickly edit your iPad screen recordings. Here’s how:
1. Launch the Photos app on your iPad. In the left sidebar under “Media Types”, navigate to “Screen Recordings”.
2. Tap the video thumbnail to start playback. Pause it, then tap “Edit” at the top right.
4. Welcome to the video editing console. Below, you’ll find the video’s timeline, alongside editing options like crop, filters, color, and contrast adjustment. The left bar houses the primary editing options; clicking them unveils additional choices on the right.
5. For swift video trimming devoid of effects, select the camera icon on the left to access the timeline. Then, simply tap and hold either end of the timeline to make adjustments. Once finished, you can overwrite the old video or save it as a new clip. Refer to the GIF for a clearer demonstration:
The built-in video editor allows you to add effects and filters, adjust settings like exposure, saturation, and shadows, and more. Additionally, you can tilt the video using the editor. Edit your screen recordings on iPad before sharing them.
Record iPad Screen with Third-Party Apps
While the native iPad screen recorder suffices for most users, if you seek greater control over recording quality and settings, third-party apps are necessary. Numerous third-party screen recording apps are available for iPad. Here, we demonstrate using Record it!. Follow the steps below:
1. Download and install Record it! from the App Store (Free, in-app purchases start at $4.99).
2. Upon opening the app, you can see the range of options available. Choose the video output quality, bitrate, and framerate. For users adding reactions, there are Face Cam and Commentary options.
3. Adjust settings as desired and tap the prominent red icon to initiate screen recording on your iPad. A confirmation pop-up will appear, allowing you to toggle the mic on/off. Tap “Start Broadcast” to begin recording your screen.
Record it! functions like the native screen recorder but offers more flexibility in settings. Though higher video quality requires payment, the ability to adjust bitrate and framerate, along with user-friendly interface, justifies the cost.
- Easy to Use
- Customizable Bitrate and Framerate
- Sleek Design
- HD output requires paid subscription
Other iPad Screen Recording Apps Worth Checking Out

Aside from the aforementioned app, numerous alternatives exist for iPad screen recording. Below are some options we recommend:
1. Screen Recorder+
This screen recording app is a top choice for iPad users seeking enhanced control over their recordings. Screen Recorder+ features a clean design and offers diverse video options, including up to 4K resolution (Paid), bitrate, framerate, and recording orientation. The app also includes a proficient video editor. Despite occasional advertisements, this free tool stands out as one of the finest options for iPad screen recording.
- Intuitive design
- Supports up to 4K video
- Orientation options
- 4K feature requires Pro Plans
- Intermittent advertisements
Price: Free, in-app purchases starting at $1.99
Get Screen Recorder +
2. Mobizen Screen Recorder
For gamers who want to record and stream from their iPad simultaneously, Mobizen is the go-to choice. This screen recording app offers a robust set of features for both recording and streaming.
Mobizen boasts an intuitive interface and sleek design. Although it limits recording quality to 720p without payment, it compensates by providing various streaming options, including direct YouTube, Twitch, and RTMP streaming. Additionally, it offers features like facecam, commentary, and an online GIF maker. Gamers, this one’s for you.
- Livestreaming Options
- Bonus Features
- Integrated GIF Maker
- Occasional Ads
- Full HD Recording Requires Paid Subscription
Price: Free, in-app purchases start at $0.99
Get Mobizen Screen Recorder
3. Go Record: Screen Recorder
This lightweight app suits users who appreciate iPad’s native recorder but desire added commentary options. Go Record simplifies settings, offering only a Start Recording button.
If you seek to shoot or import videos with audio commentary, Go Record suffices; a paid plan enables adding a face cam. Additionally, there are no ads to disrupt your experience.
- No Advertisements
- No-Nonsense recording approach
- Includes video editor
Cons:
- Lacks customization options
- Some users might find it too simple
- Facecam locked behind paid version
Price: Free, in-app purchases starting at
Get Go Record: Screen Recorder
Bonus: How to Take a Screenshot on iPad
To record, edit, and save iPad screen recordings is known. However, what if you want to take screenshots on your iPad? Don’t worry; we have you covered. Taking a screenshot on an iPad is easy. Depending on your model, two methods can be used:
Method 1: For iPads with a Home Button
Users with a home button on their iPad, follow these steps:
1. Press both the top button and Home button on your iPad simultaneously for half a second, then release.
2. You’ll hear a camera shutter sound and see a screenshot thumbnail in the bottom left corner of your iPad, indicating a successful screenshot.
3. Tap the thumbnail to open the screenshot directly or access it through the Photos app.
Method 2: For iPads Without a Home Button
Even without a Home button, taking a screenshot on your iPad is simple:
1. Press both the top button and volume up button simultaneously for half a second, then release.
2. Upon hearing a camera shutter sound, a screenshot thumbnail will appear in your iPad’s bottom left corner.
3. Tap the thumbnail to swiftly edit the screenshot or access it later via the Photos app.
That’s how you take an iPad screenshot. With practice, you’ll master it soon enough!
Frequently Asked Questions (FAQ)
1. Can I Record Internal Audio Using iPad Screen Record?
Answer: Yes, you can. The native iPad screen recorder captures internal audio from any app, including games. Additionally, it allows simultaneous recording of your voice through the microphone.
2. Can I Record Music from Apple Music or Spotify in iPad Screen Recording?
Answer: Across various apps, the behavior varies concerning this question. In our tests, streaming services like Spotify and Youtube captured audio during iPad screen recording, with or without the mic, flawlessly. Conversely, Apple Music incorporates measures to prevent this, gradually fading out the music until the recording stops. The answer is contingent upon the service utilized, prompting experimentation for a conclusive determination.
3. Does Screen Recording on iPad Consume Much Battery?
Answer: Screen recording on iPad does deplete battery, albeit minimally. Given the extensive battery life of iPad Air and Pro models, the impact of a few screen recordings on daily workflow appears negligible.
4. Where Can I Access All My iPad Screen Recordings?
Answer: All screen recordings are accessible in the Photos app. Open Photos on your iPad to find the Screen Recordings folder in the “Media Types” section. Your iPad screen recordings are stored there.
Screen Record on iPad Easily
Screen recording on iPad is simple. While the native screen recorder suffices for quick use, third-party apps offer added functionality. Moreover, iPad offers numerous features beyond screen recording. These top iPadOS 15 features are just the beginning. Need assistance with screen recording? Have questions about the process? Feel free to ask in the comments, and we’ll assist you.

Pritam Chopra is a seasoned IT professional and a passionate blogger hailing from the dynamic realm of technology. With an insatiable curiosity for all things tech-related, Pritam has dedicated himself to exploring and unraveling the intricacies of the digital world.


